Creating your first class
Classes represent the groups of students you teach, such as class periods, sections, or bells. After you create a seating arrangement, the next setup step is to add your classes and bells.
Start from the setup guide
If you are following the first-class setup guide, ClassSeats recommends creating a seating arrangement first. After that, choose Add Classes & Bells.
Click Add Classes & Bells to open the class setup tools.
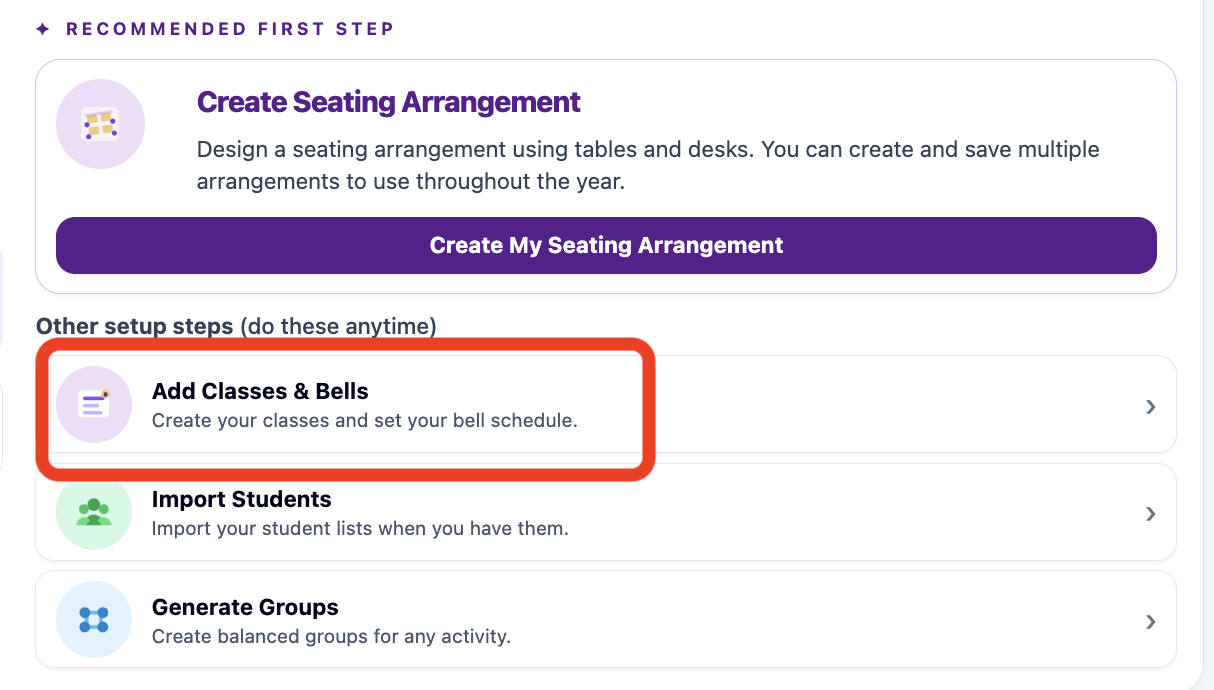
Open the class manager
You can also use the class selector
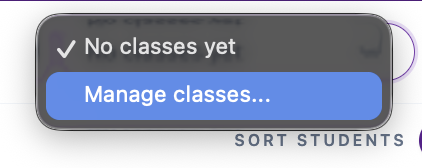
You can manage classes from the class selector at the top of the app.
If you have not created any classes yet, the selector may say No classes yet.
Click the selector to open the class menu.

Open Manage classes
In the class menu, click Manage classes….
This opens a window where you can add, rename, delete, and reorder classes.
Add and manage classes
Add a class
In the Manage classes window, use the Add class field.
Enter a class name, such as Bell 1, Period 3, or Algebra 7.
Click Add class.
Your new class appears in the list. Add each class or bell you want to use in ClassSeats.
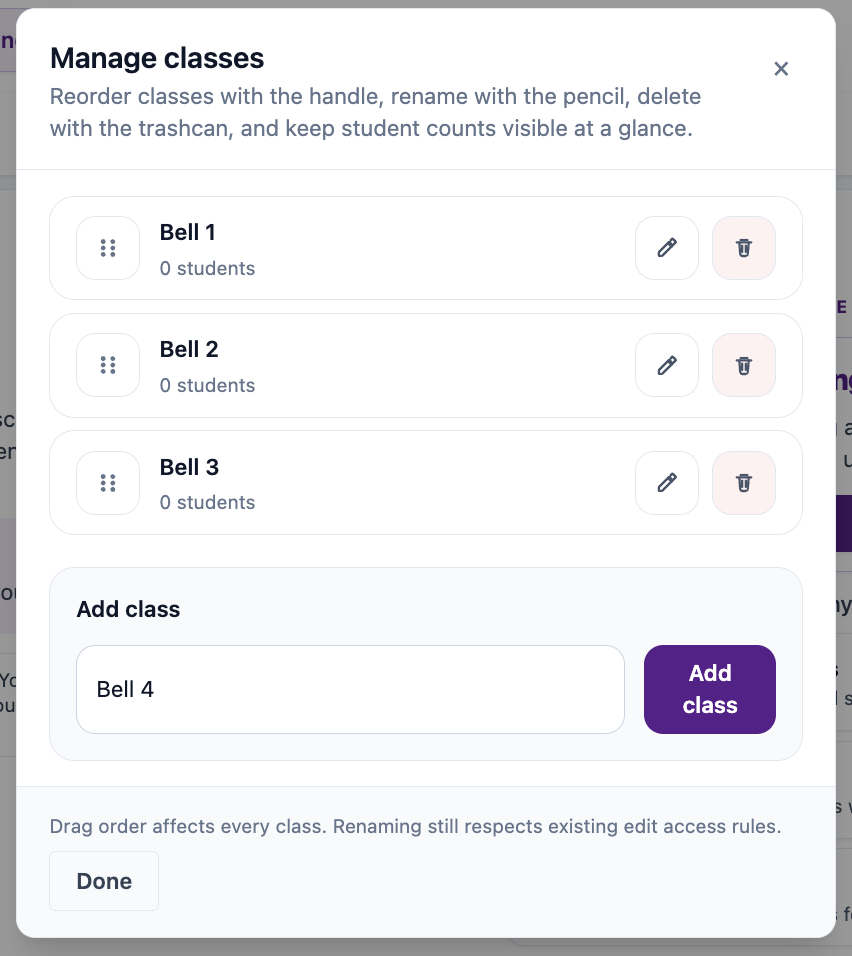
Manage existing classes
In the Manage classes window, you can also:
- Drag classes to reorder them.
- Click the pencil icon to rename a class.
- Click the trash icon to delete a class.
- See how many students are currently in each class.
When you are finished, click Done.
What happens next
After your classes are created, you can import students into each class.