Adding students to a class
Once you've created your classes, you can import students by pasting a class list from almost any source. ClassSeats helps you choose which parts of the list are first names, last names, and optional gender information before anything is added.
Step 1: Start from the setup guide
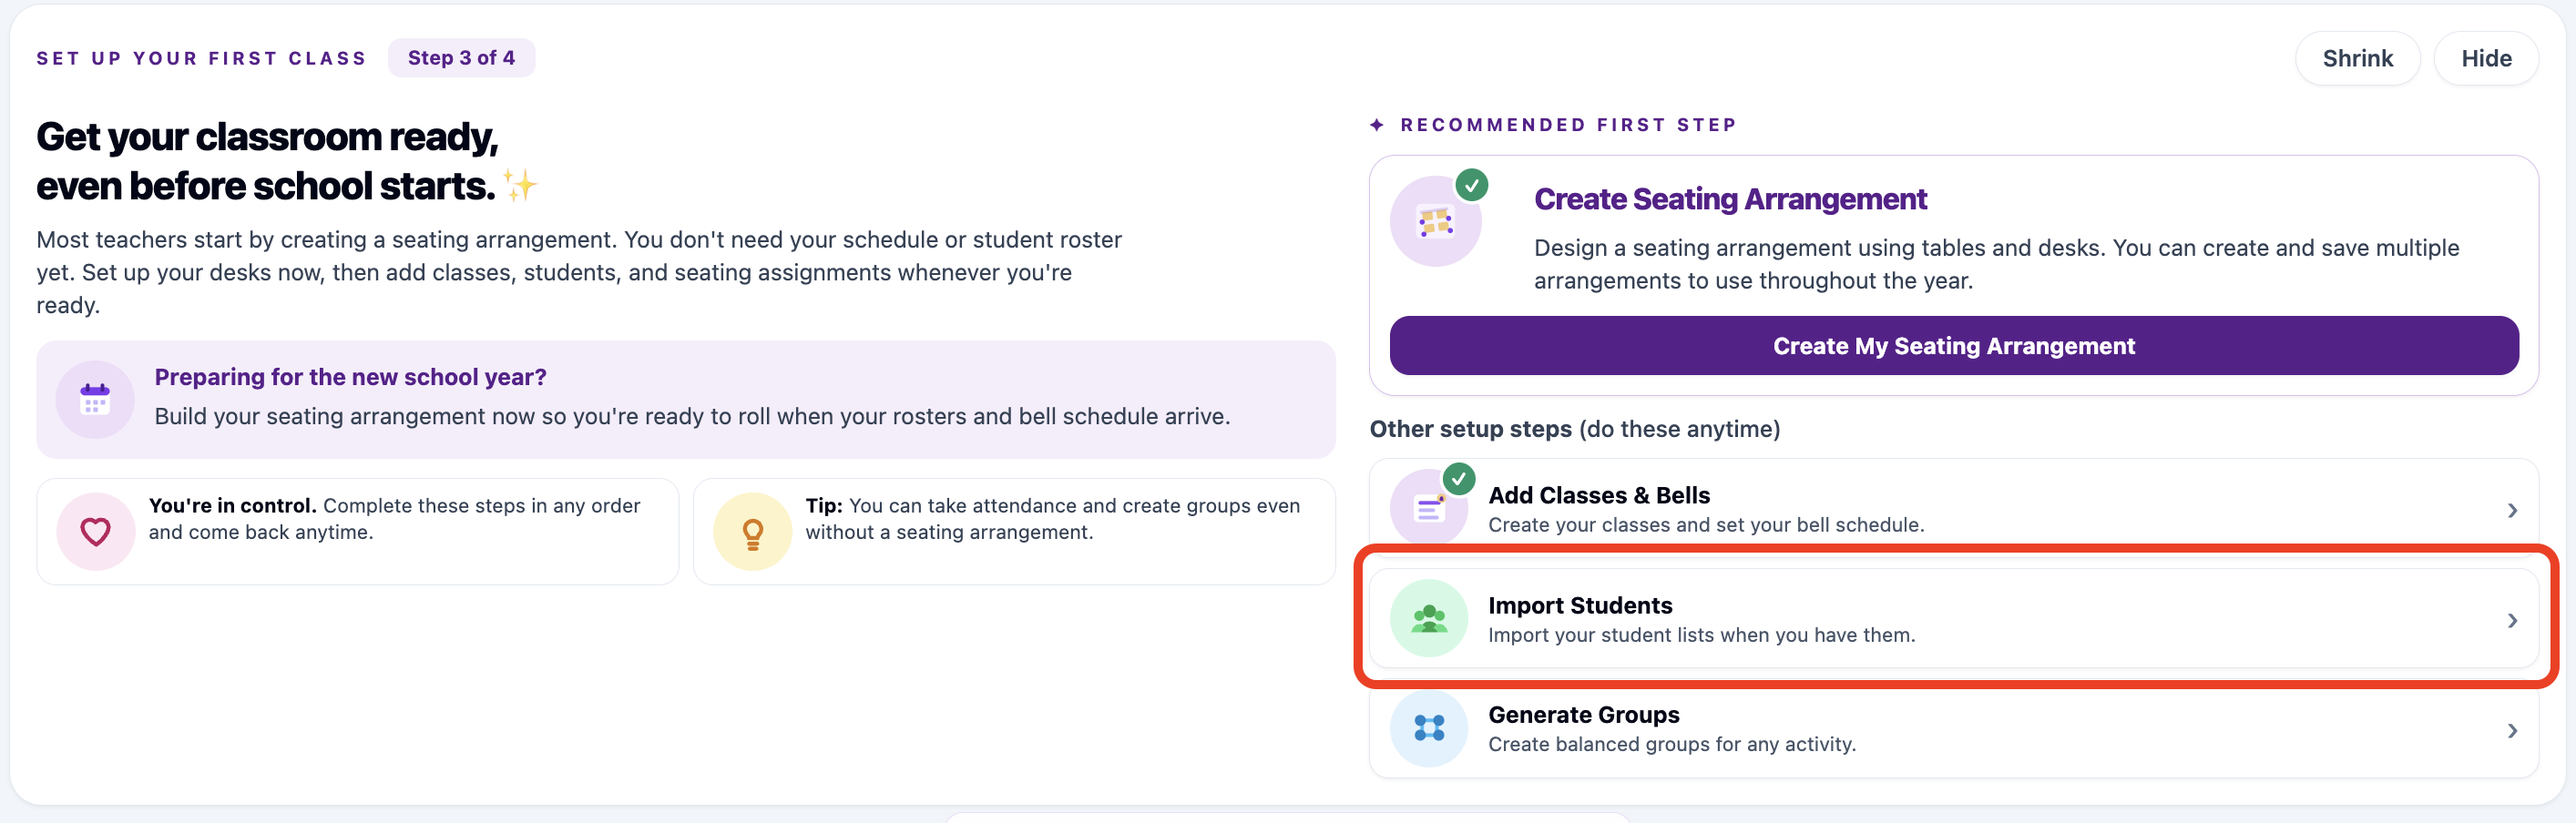
If the setup guide is collapsed, click Expand to see your next recommended setup step.
After your seating arrangement and classes are complete, the setup guide recommends Import Students.

Click Import Students to open the student import window.
You can complete setup steps in a different order if you need to. This article follows the recommended first-class flow.
Step 2: Choose a class and paste your list
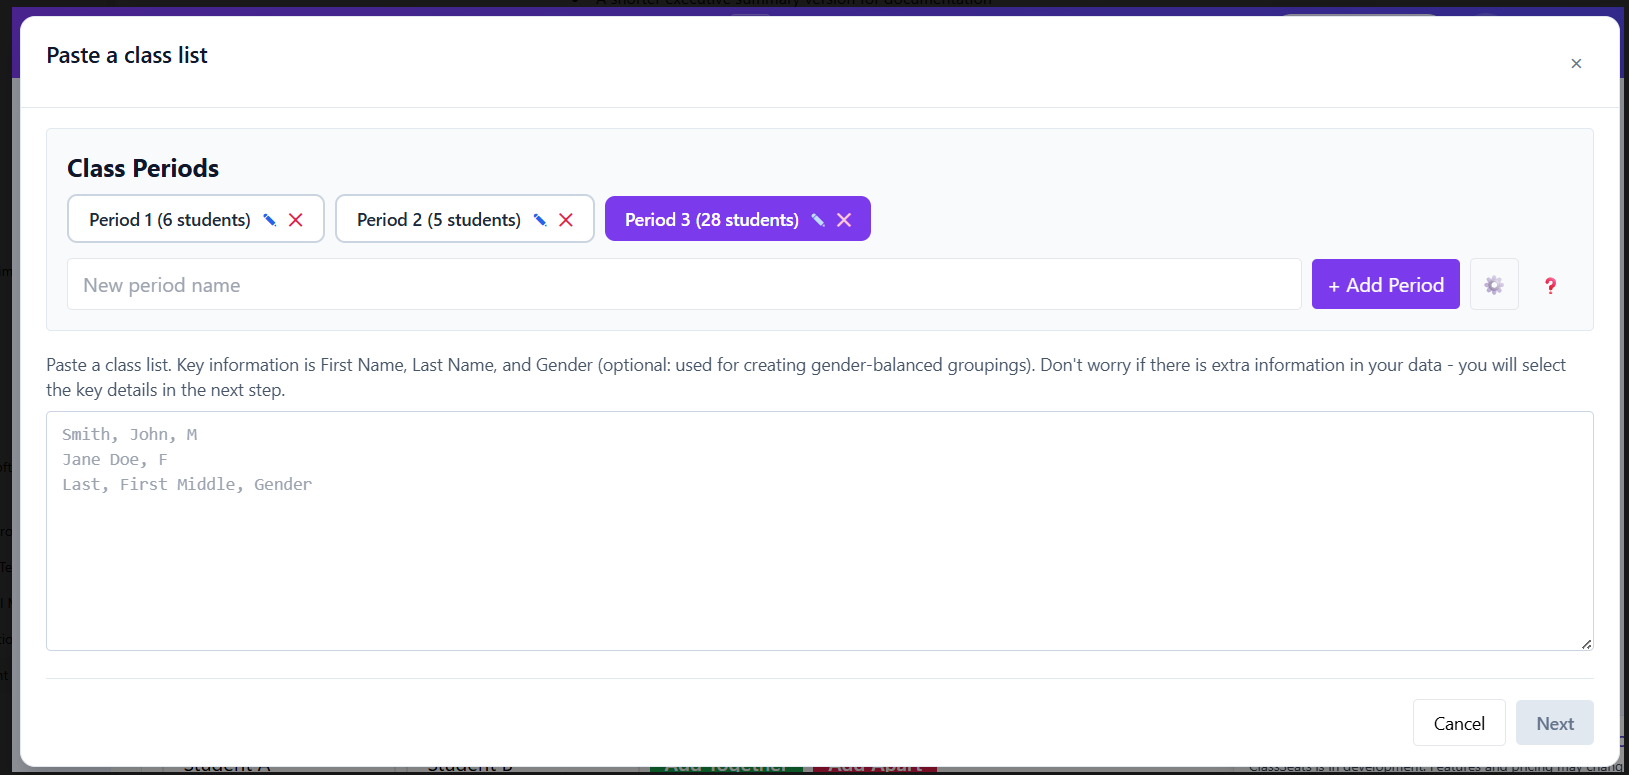
In the Paste a class list window, choose the class you want to import students into. If you need to adjust your class list first, click Manage Classes.
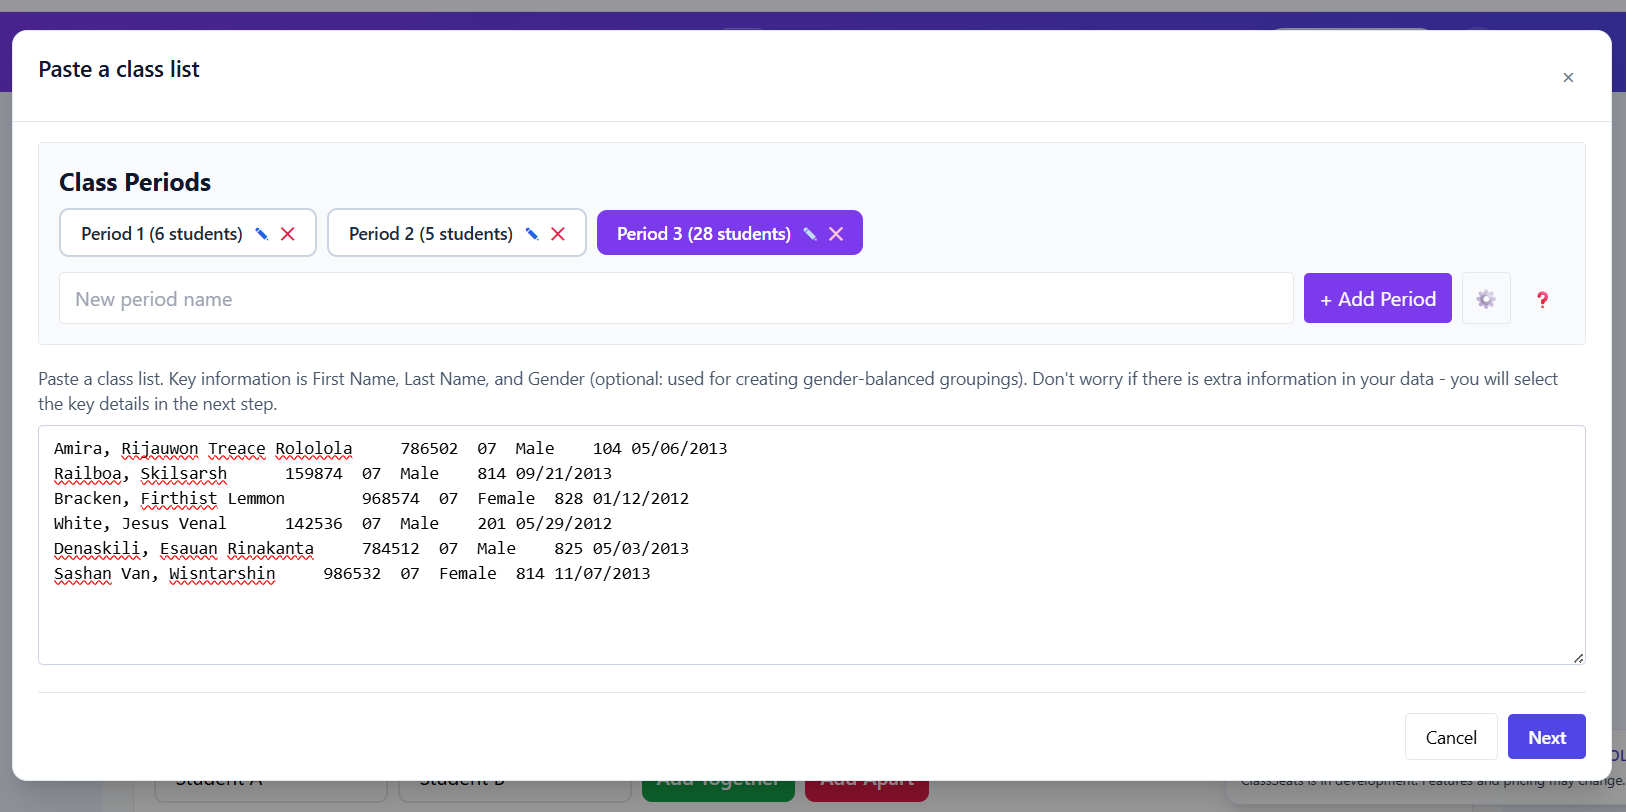
Paste your roster into the box, then click Next. You can paste from a spreadsheet, school roster system, email, document, or another list.
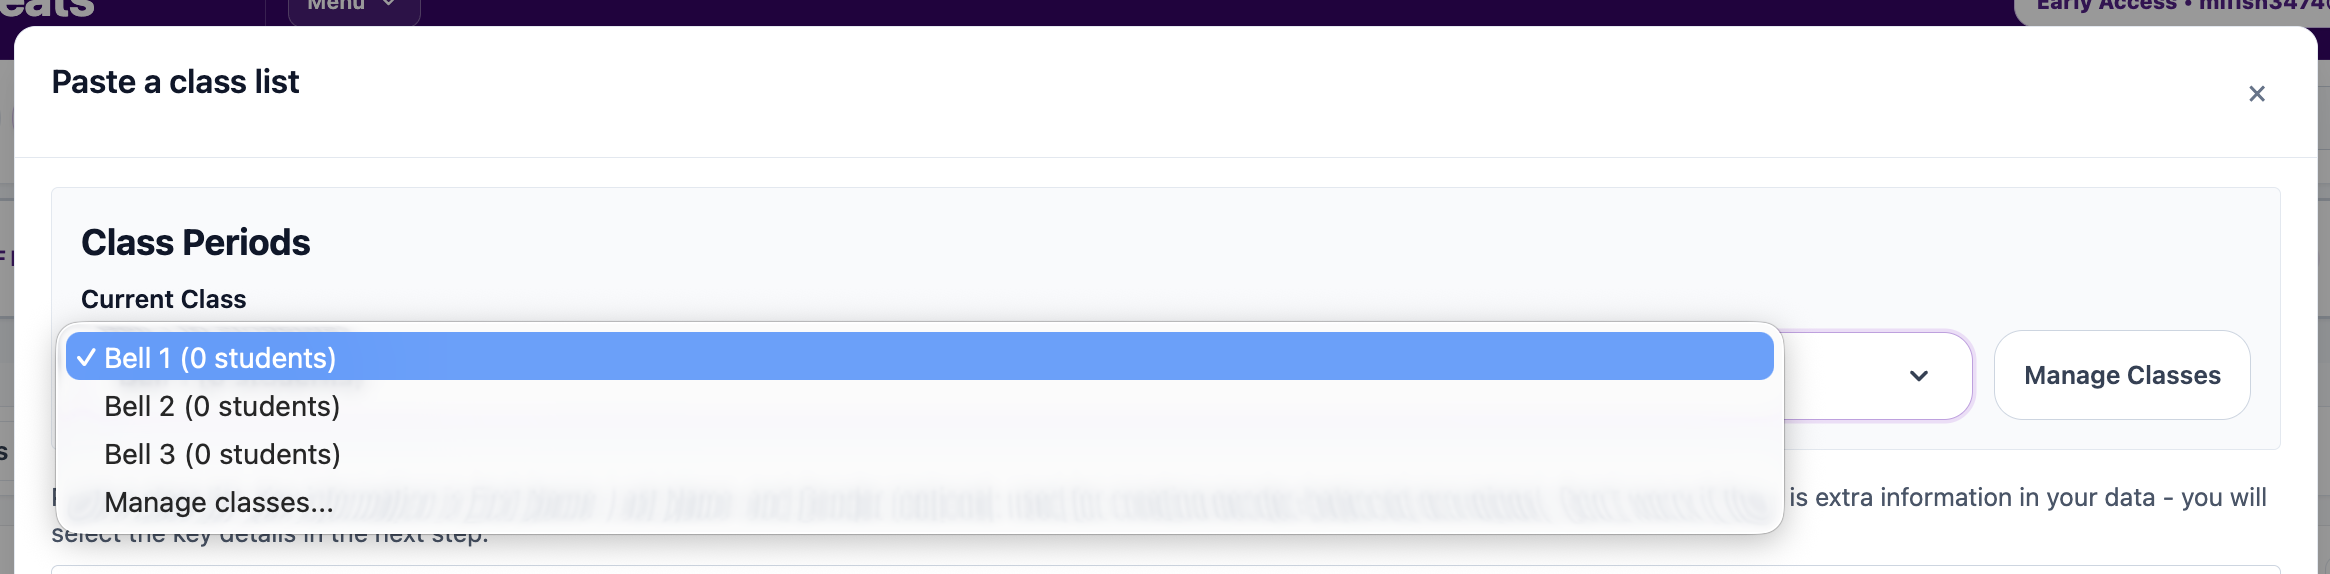
If you have more than one class, use the class selector at the top of the window before importing.
Make sure the selected class is the class where the pasted students should be added.
Your pasted list can include extra information, such as student IDs, birthdays, counselor names, room numbers, bus numbers, IEP or 504 notes, ELL flags, or language details.
You will choose the important parts in the next step. Extra details can be ignored.
Step 3: Match the columns once
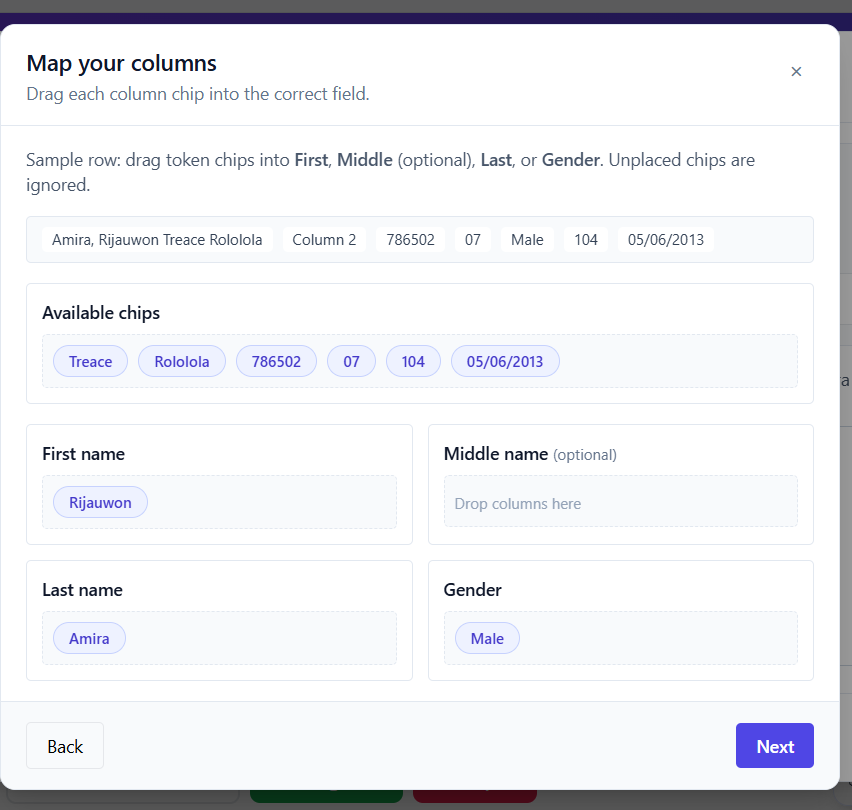
This is the main shortcut: you only need to match the pieces for one student. ClassSeats then uses that same pattern for the rest of the pasted list.
Drag the name and gender chips from the sample row into the matching spaces: First name, Last name, and Gender.
Gender is optional. Use it only if you want ClassSeats to support gender-balanced groupings.
Leave anything extra where it is. ClassSeats will ignore the pieces you do not use.
Step 4: Review and import
Before importing, quickly scan the student list. You can edit names, set or skip gender, remove rows, and use Swap first/last if the names are reversed.
When everything looks right, click Import students.
