Creating seating arrangements
Seating arrangements define the physical arrangement of your room—desks, tables, and where they’re positioned. They do not assign students to seats. Think of this as getting your room ready before students arrive.
Step 1: Start a seating arrangement
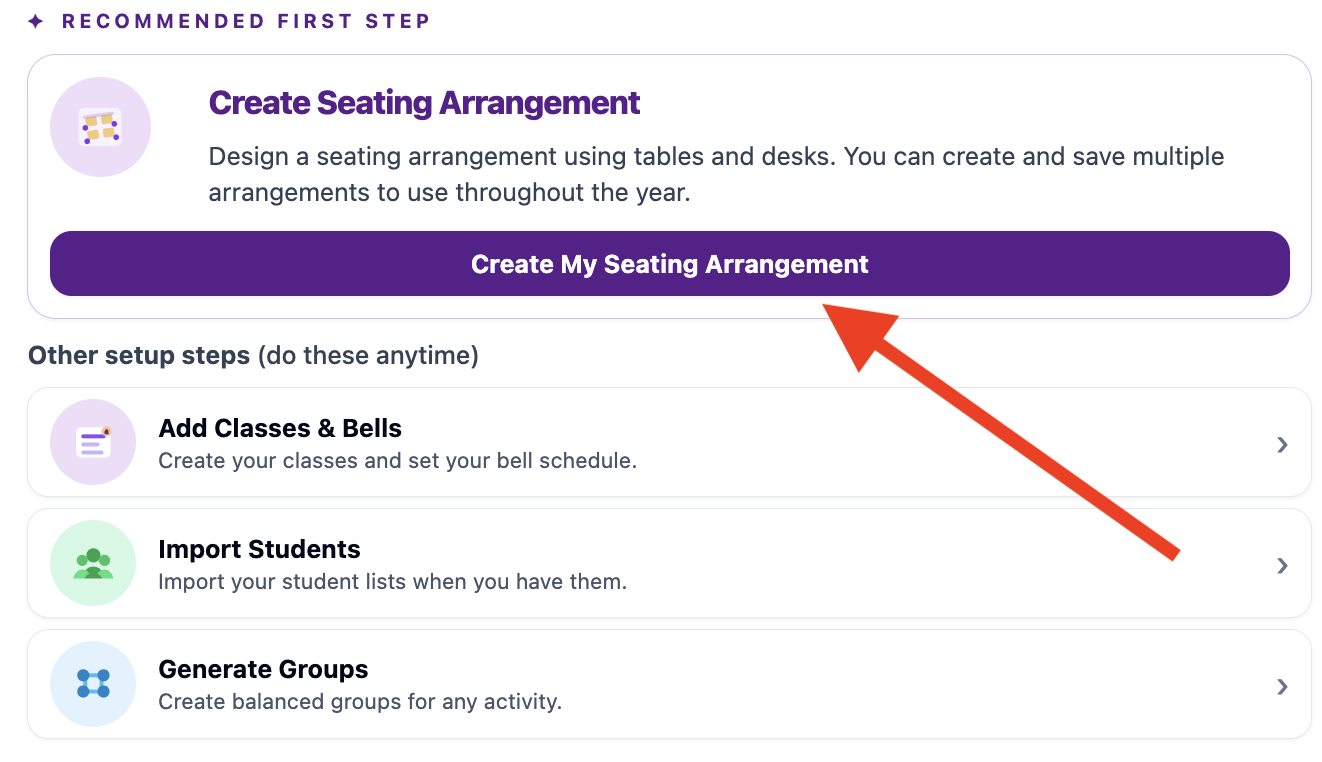
If the setup guide is visible, click Create My Seating Arrangement. This opens the seating arrangement setup flow.
You can also create a seating arrangement manually:
- Go to the Room Setup tab.
- Choose Create Seating Arrangement.
Seating arrangements define tables and seats only. They do not place students into seats. Student placement happens later when you create groups or seating charts from the arrangement.
Step 2: Choose a layout type
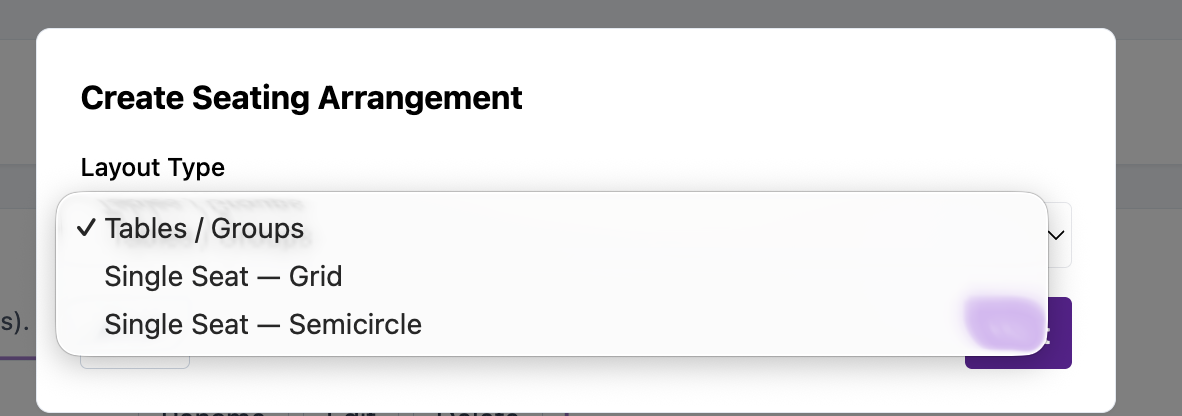
ClassSeats can build seating arrangements in three layout styles. Choose the one that most closely matches your room.
- Tables / Groups: Use this for tables, pods, lab stations, or desks that function as a group. Each table has a capacity, and that capacity is the maximum number of students the table can hold.
- Single Seat — Grid: Use this for individual desks arranged in rows or a rectangular classroom layout. Each student gets an individual seat.
- Single Seat — Semicircle: Use this for individual seats arranged in a curved discussion, presentation, or meeting-style layout.
The goal is to describe the room well enough that ClassSeats can place students into a useful seating chart later.
Step 3: Enter the arrangement details
Name the arrangement and enter the layout details requested by the setup flow. The exact options depend on the layout type you chose.
For Tables / Groups, think in terms of how students work together in your room:
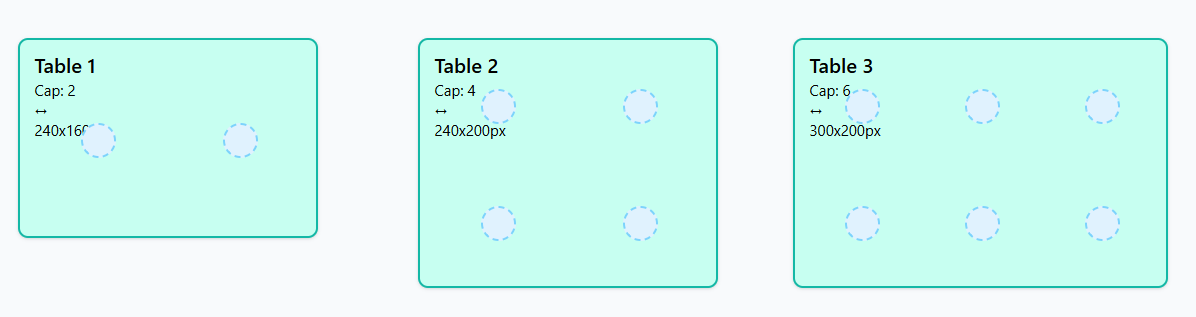
- If you use single desks pushed together in groups of four, create tables with a capacity of 4.
- If you pair desks for partner work, create tables with a capacity of 2.
- If you push several tables together for stations or labs, create tables with a capacity of 6 (or whatever fits your room).
A table can have fewer students than its capacity. Capacity is the maximum number of students that table can hold, not a requirement.
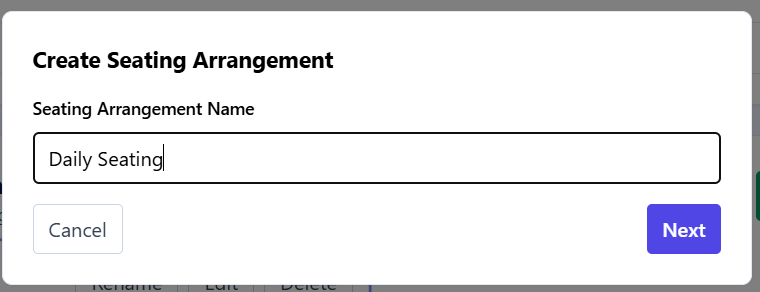
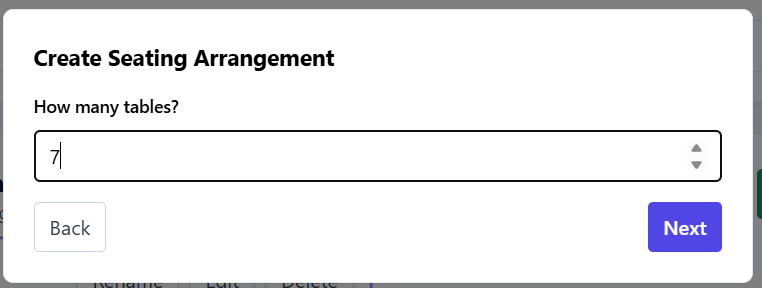
The wizard starts by asking for a seating arrangement name, then walks you through the size and capacity choices for the selected layout.
Continue through the setup flow, then click Create when the arrangement is ready.
For a table-style arrangement, choose how many tables to create and how many students each table can hold. Grid and semicircle arrangements use the same idea, but the setup choices are based on individual seats.
Step 4: Arrange and save
After creating the arrangement, you’ll see the arrangement editor.
Here you can:
- Move tables or seats into position
- Adjust spacing
- Resize or reposition the arrangement as needed
Once an item is selected, controls appear at the top of the editor. These controls let you move the item (you can also use the arrow keys on your keyboard) and adjust its properties.
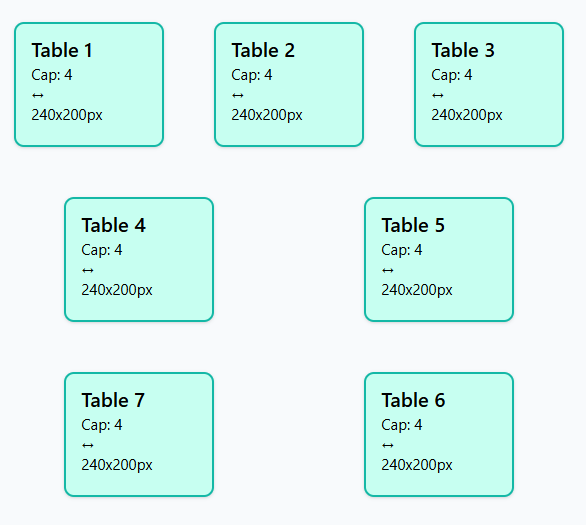
Seating arrangements are saved when you click the Done button at the top of the editor. Most teachers set this up once and rarely need to change it.
Don’t worry—nothing is locked in stone. Feel free to try things out. More detailed options are covered in the Advanced Seating Arrangements article.