Assigning multiple tags with the Tag Matrix
Use the Tag Matrix when you want to add or remove tags for many students at once. Instead of opening each student card one by one, you can view your class list in a simple grid and check the tags each student needs.
Step 1: Open the Tag Matrix
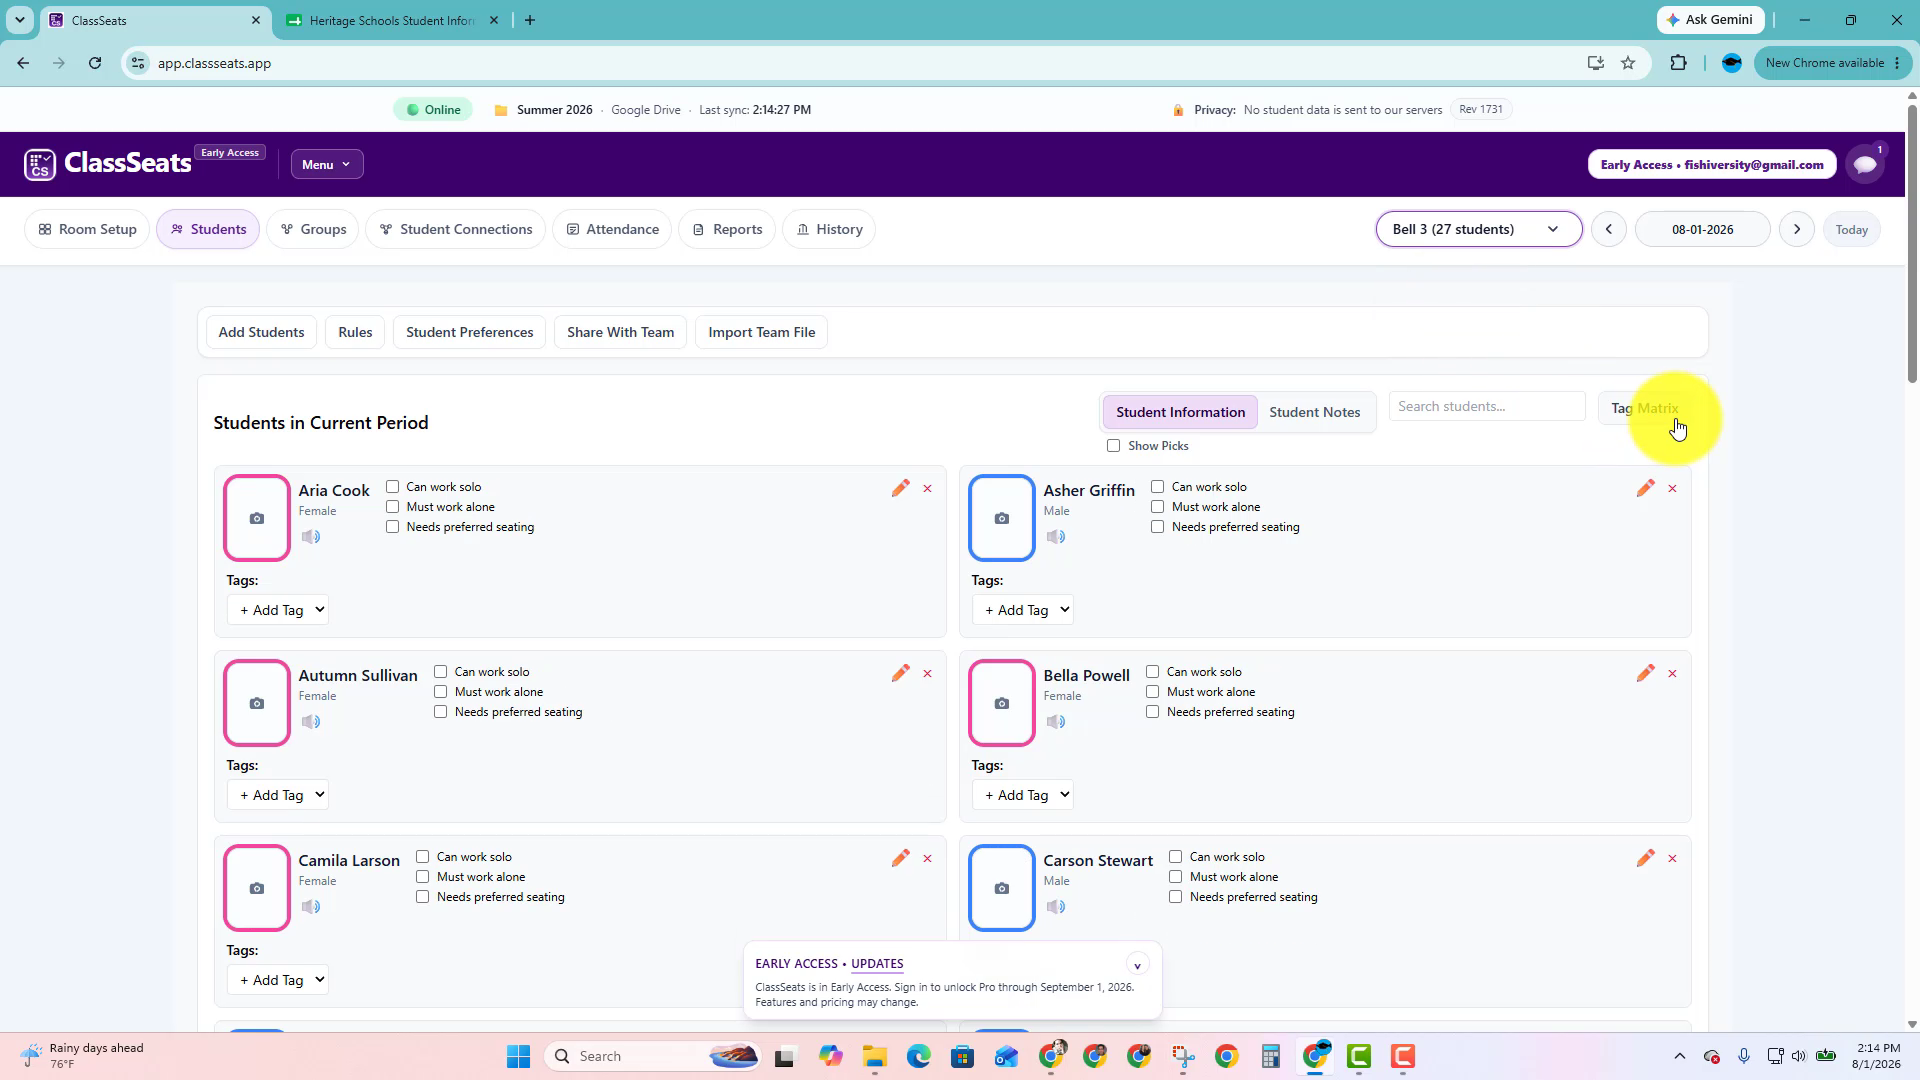
Go to the Students tab, then click Tag Matrix.
The Tag Matrix is helpful when you need to update tags for several students in the same class.
Step 2: Review your students and tags
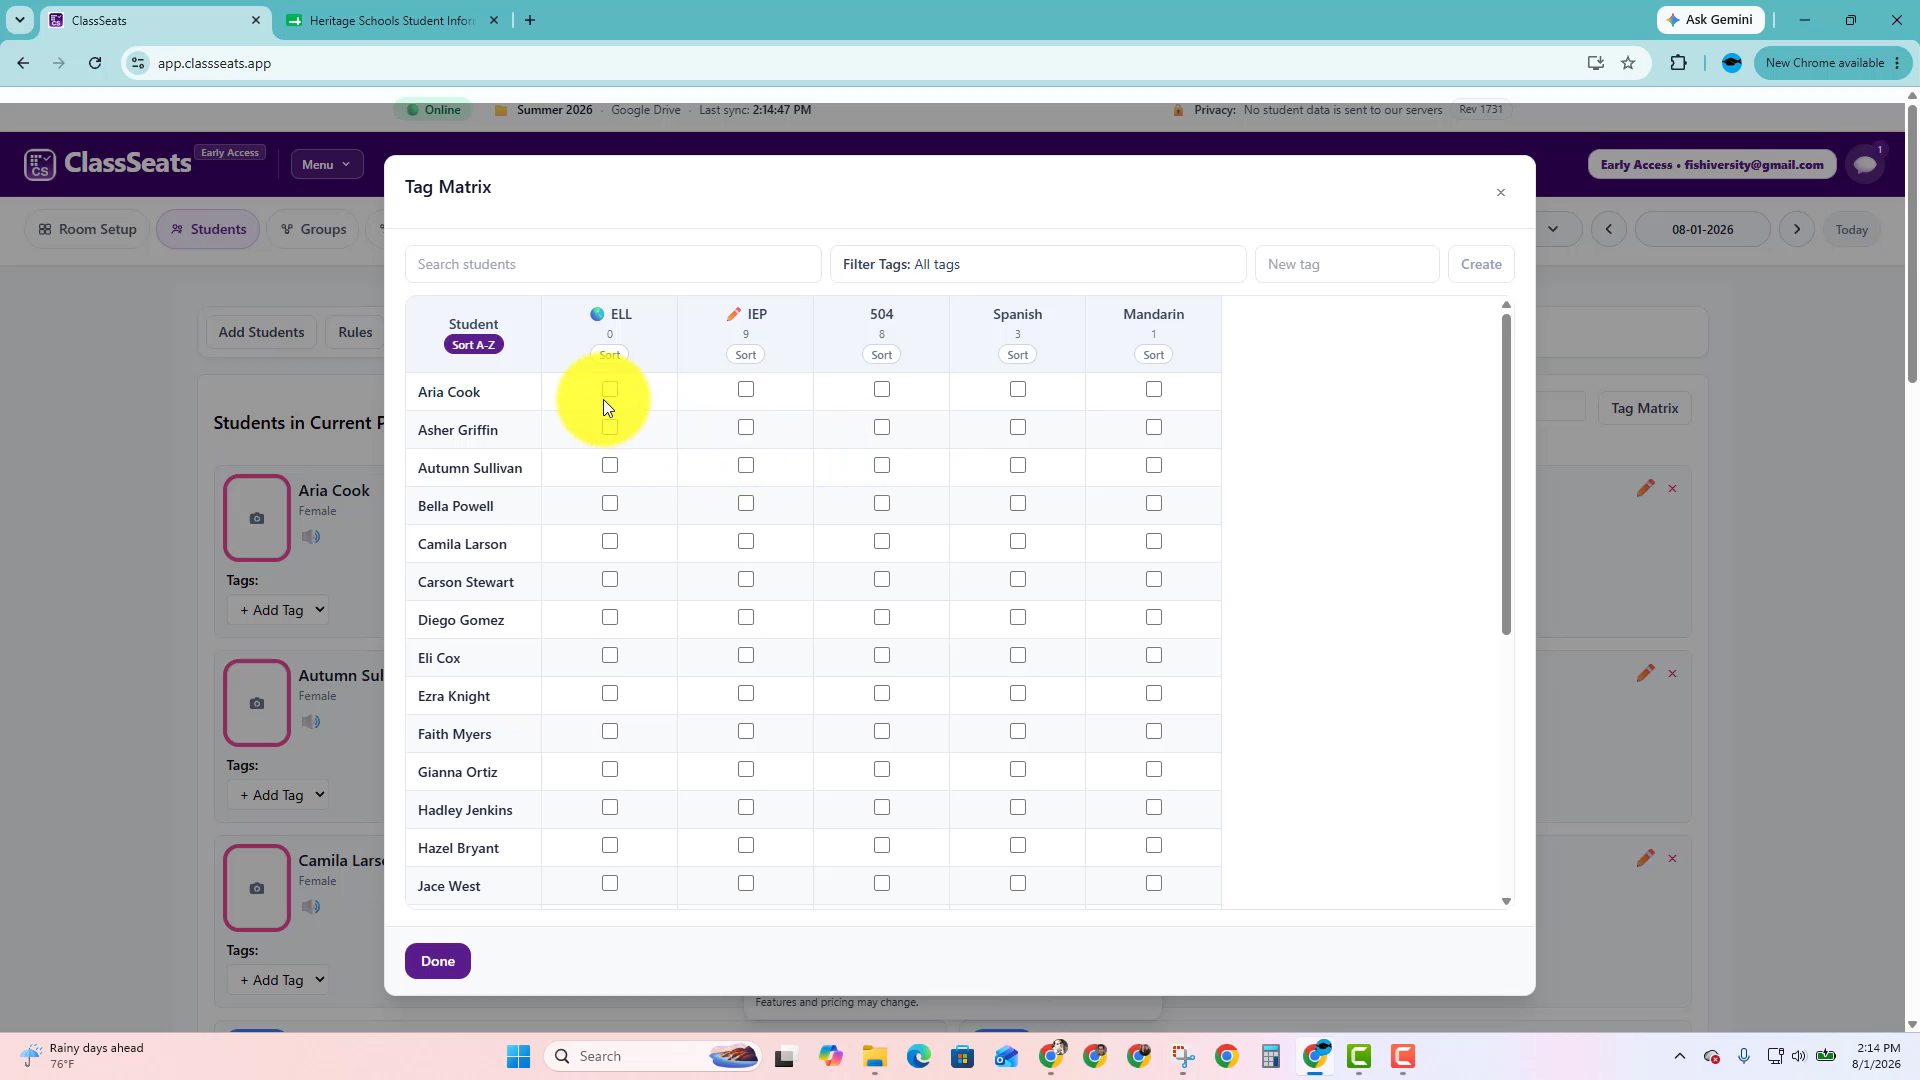
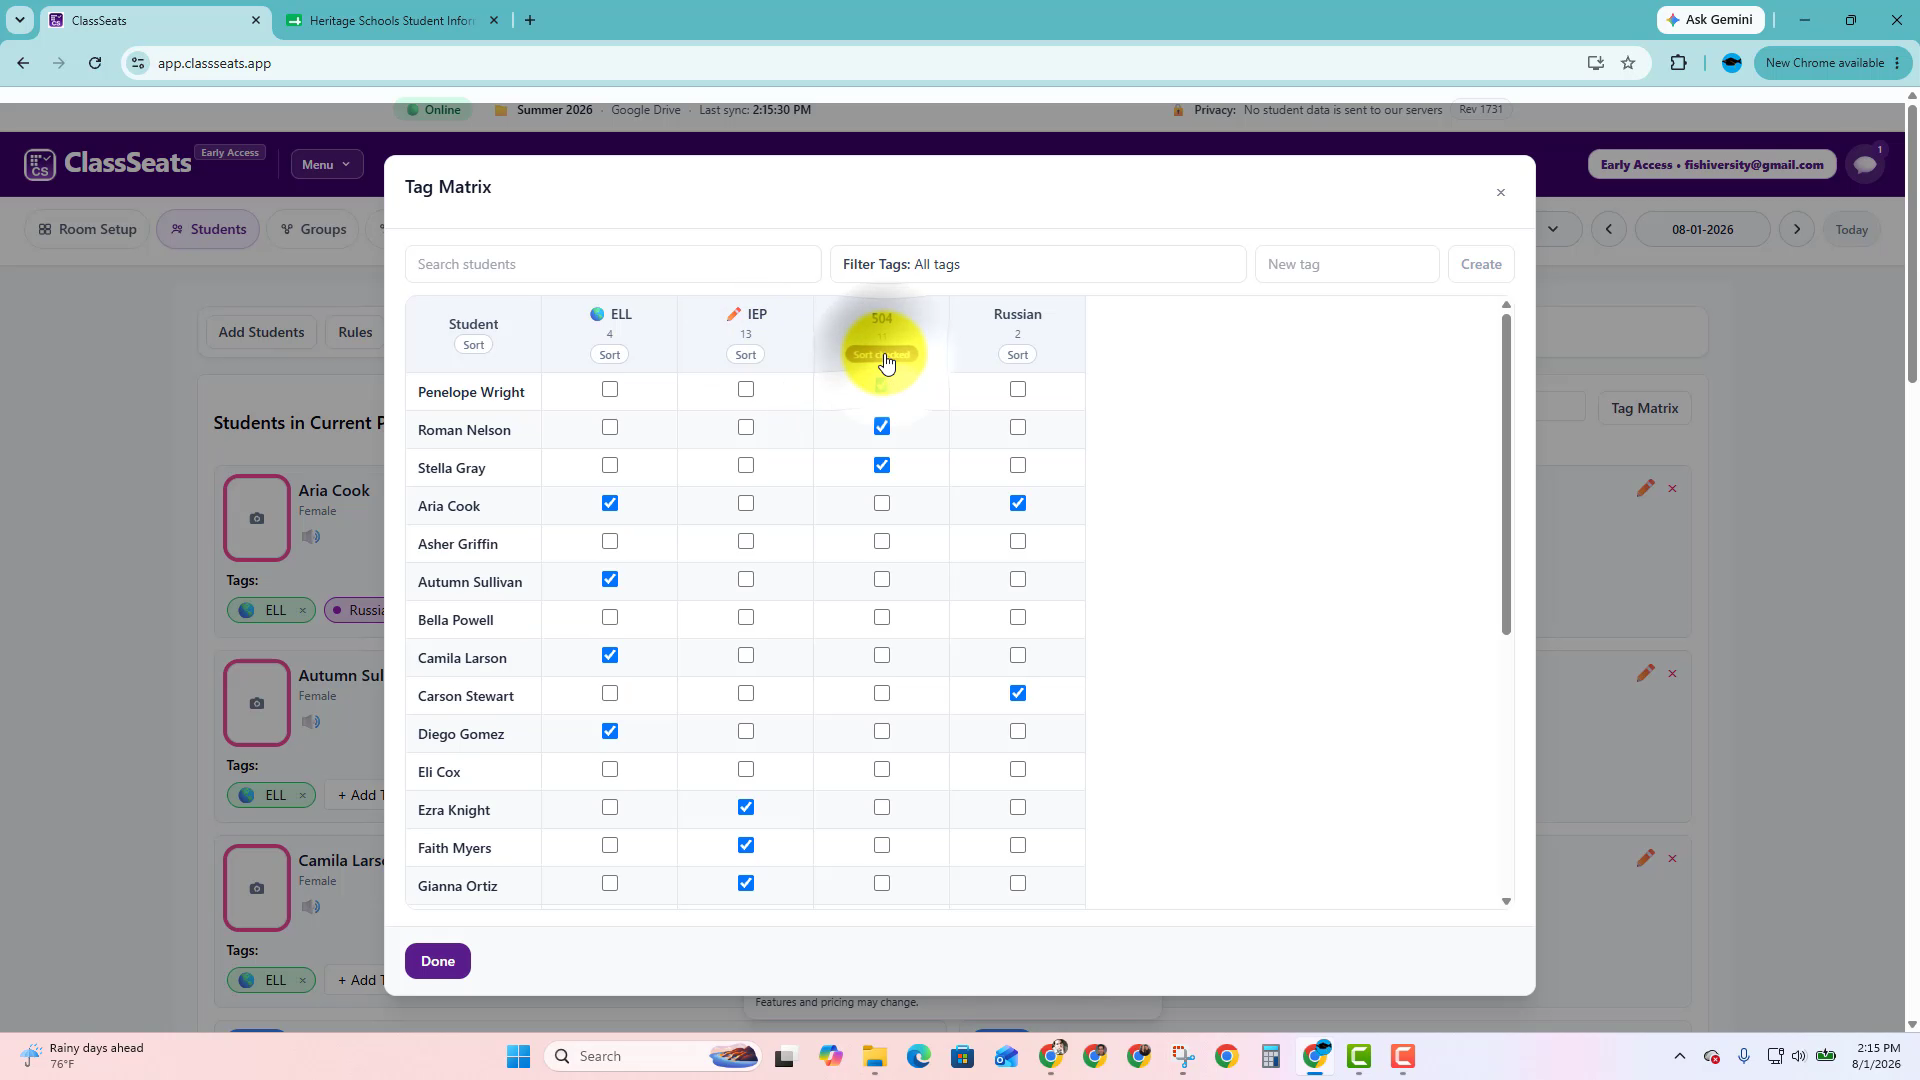
The Tag Matrix shows students down the left side and tags across the top.
Each checkbox shows whether that student currently has that tag.
Step 3: Check or uncheck tags
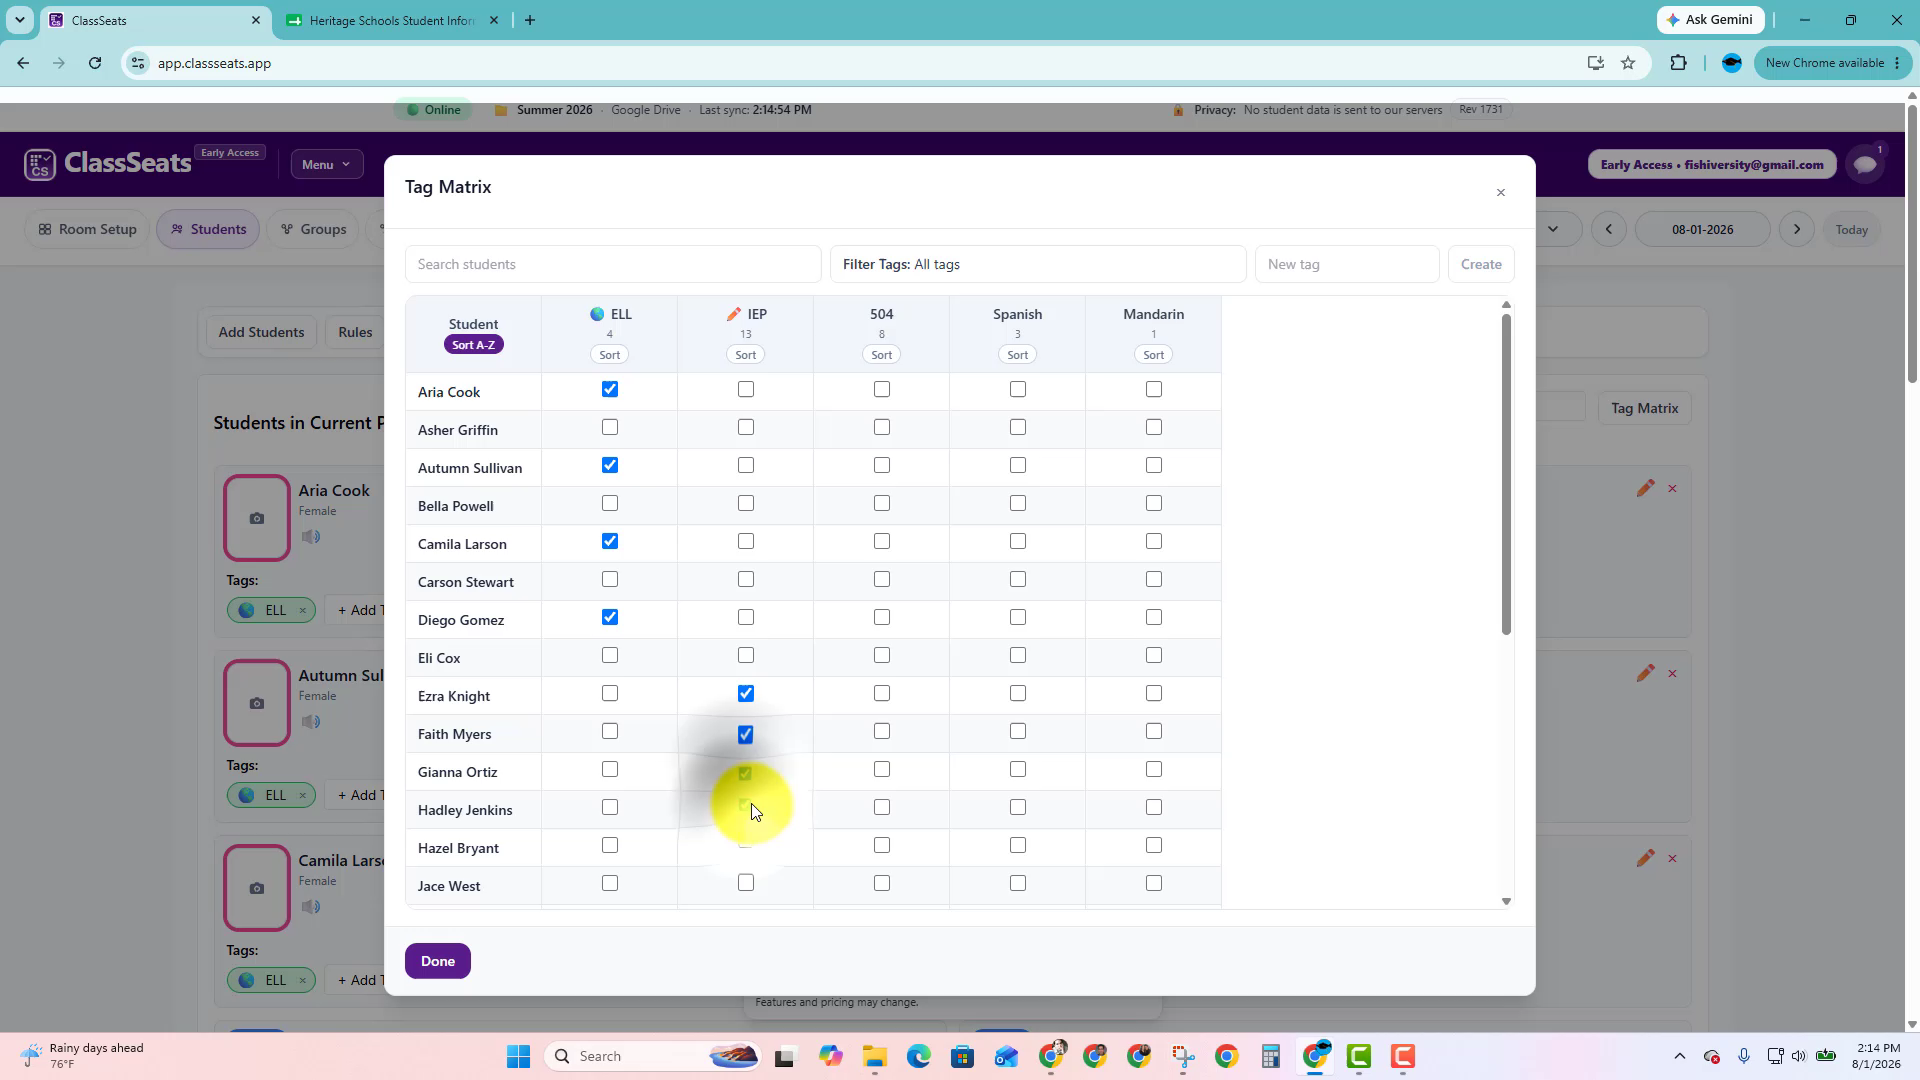
Click a checkbox to add or remove a tag for a student.
This is useful when you need to update accommodations, interests, language supports, or other notes for several students at once.
Step 4: Filter the tag columns
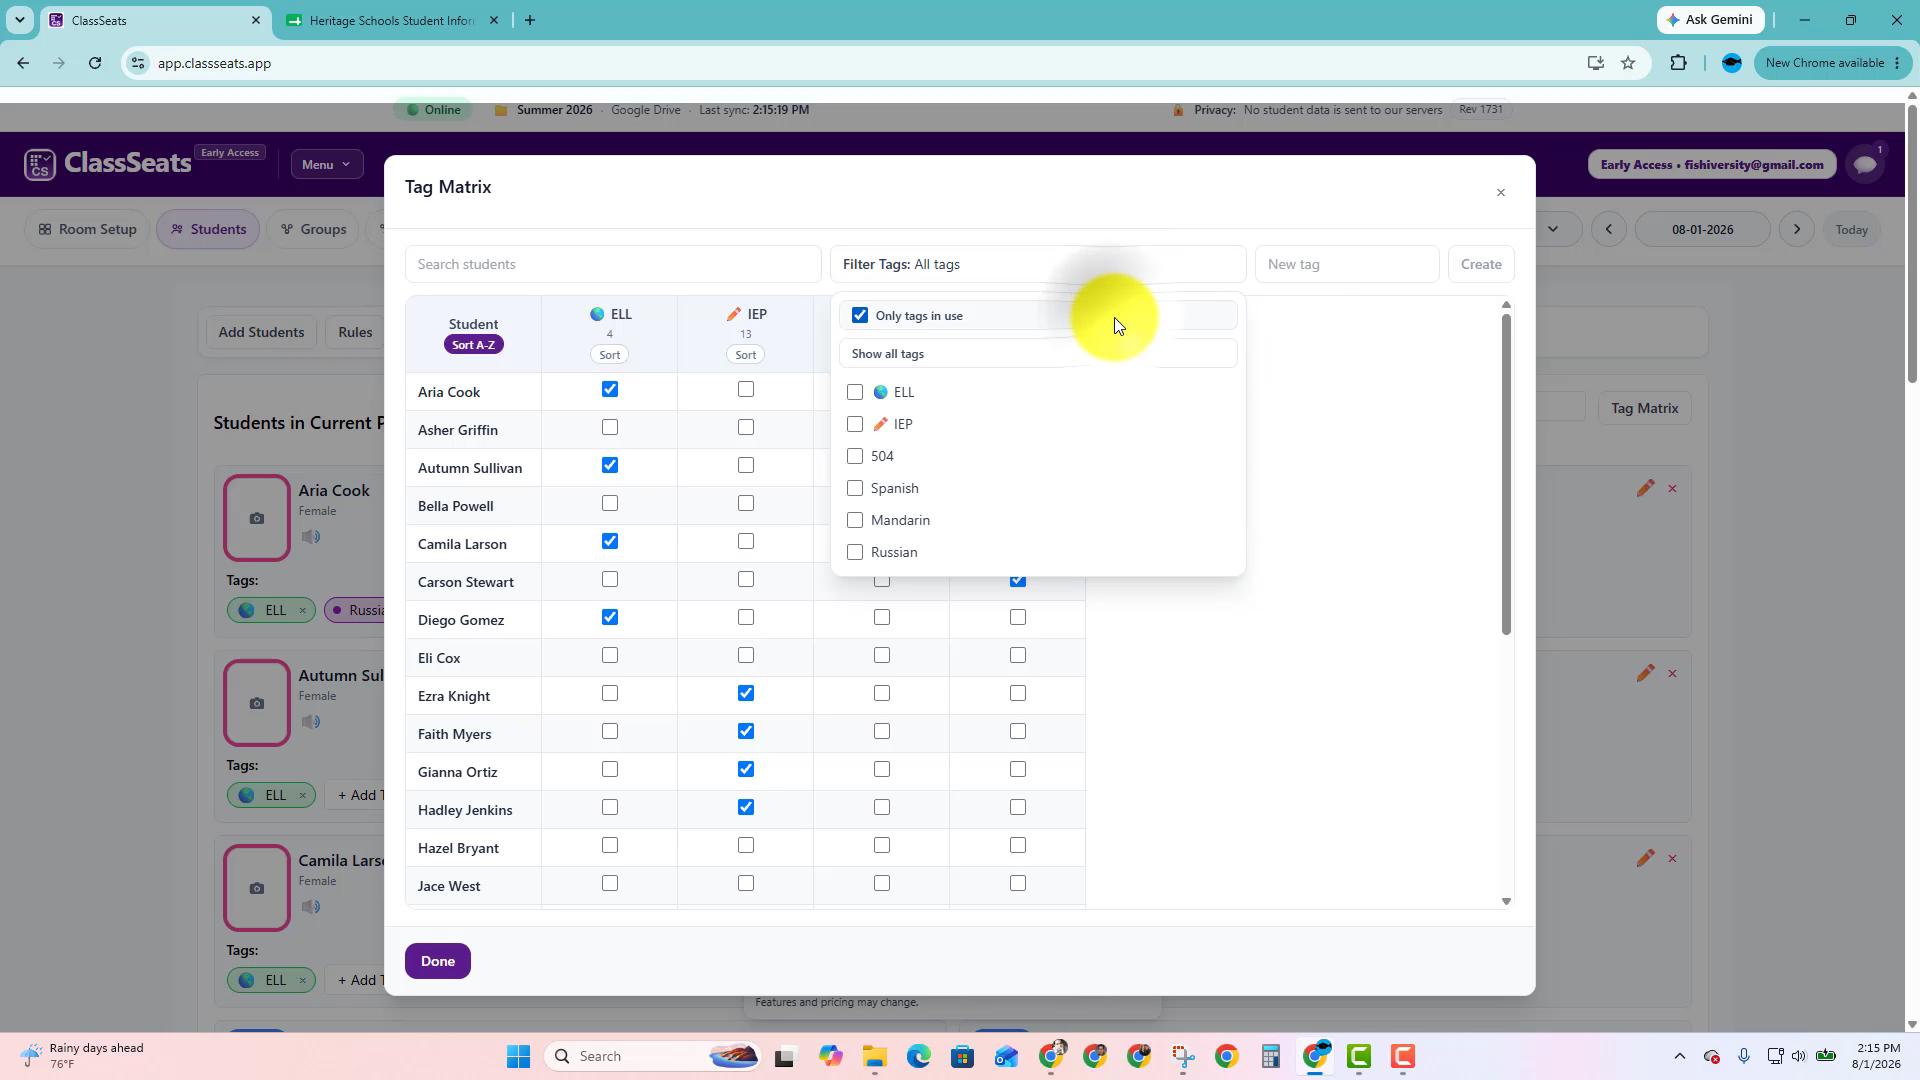
If your class has several tags, use Filter Tags to focus on the tags you want to work with.
You can show all tags, only tags currently in use, or selected tags.
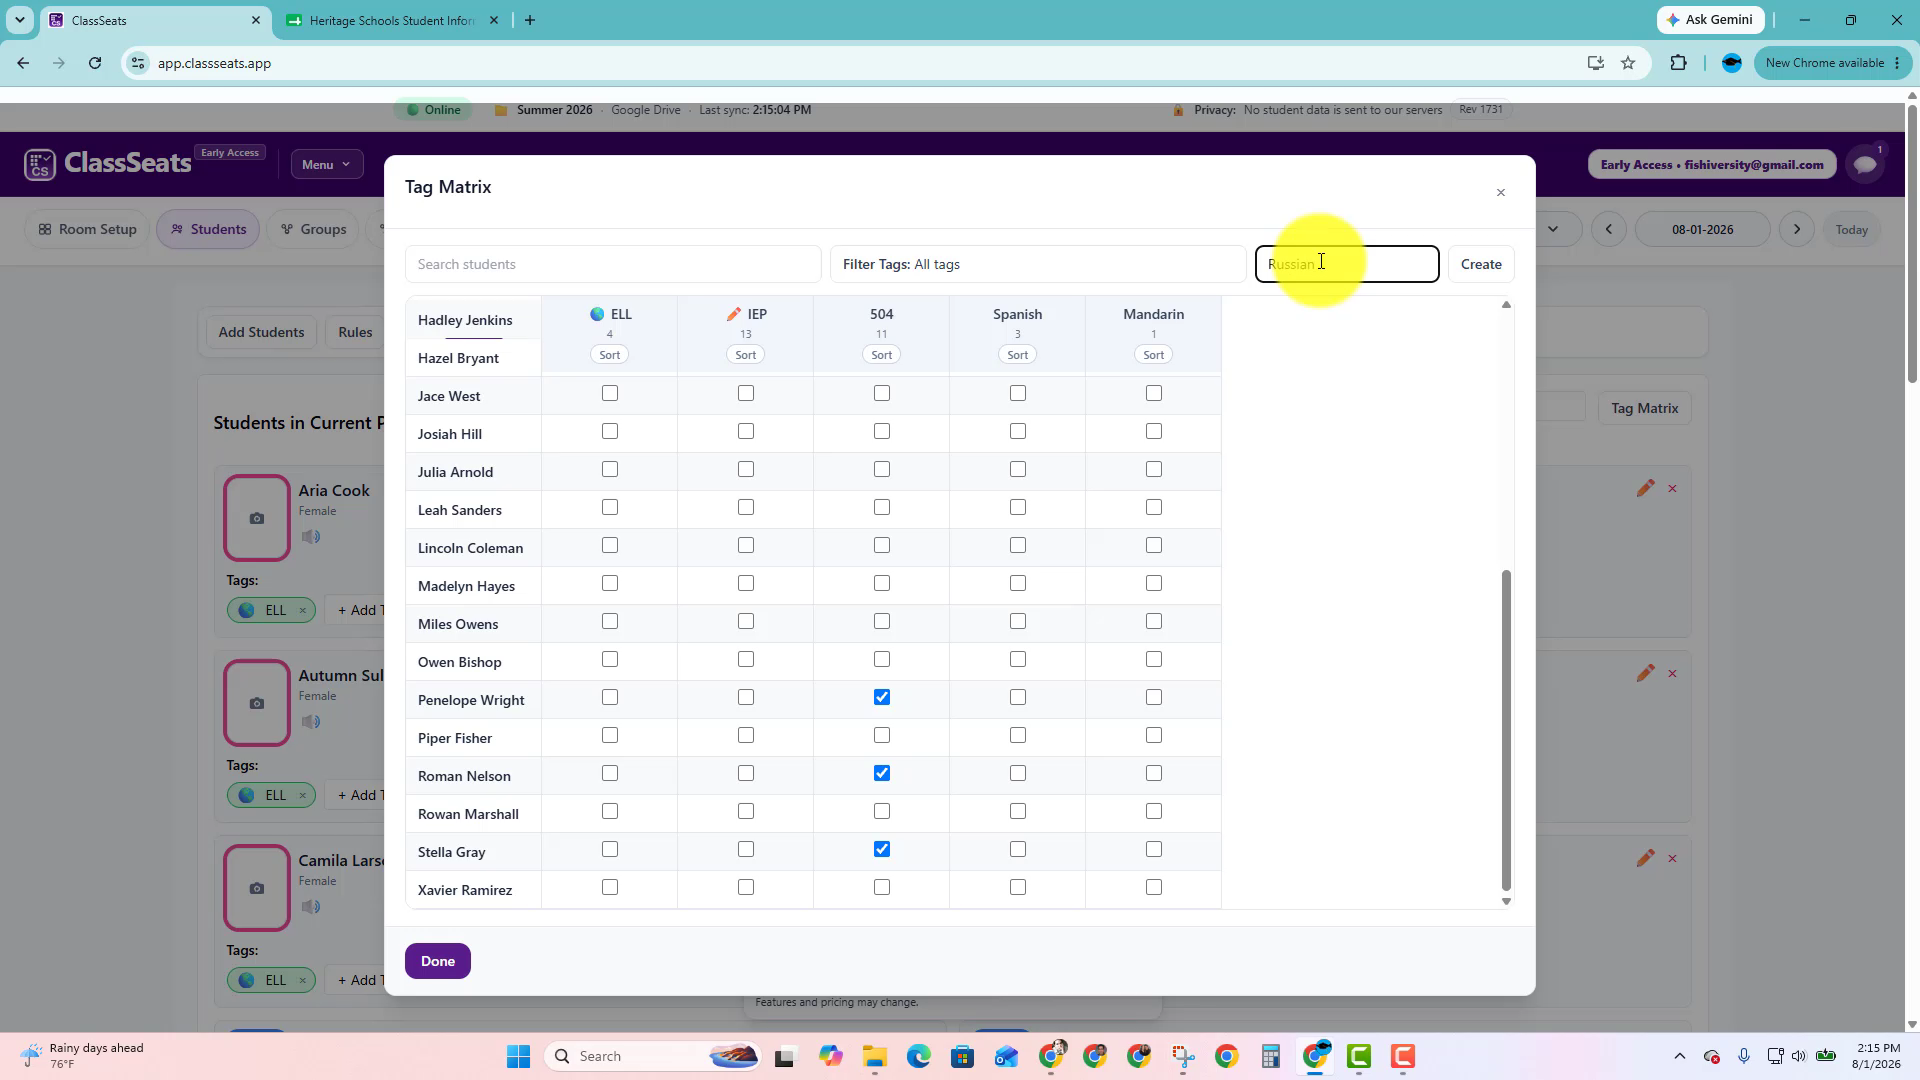
Step 5: Create a new tag if you need one
If the tag you need is not already in the matrix, type the tag name in the New tag field and click Create.
The new tag will appear as another column in the matrix.
Step 6: Sort a tag column
Use Sort under a tag name to group students who have that tag.
Sorting can make it easier to check your work before you finish.
Step 7: Return to the student list
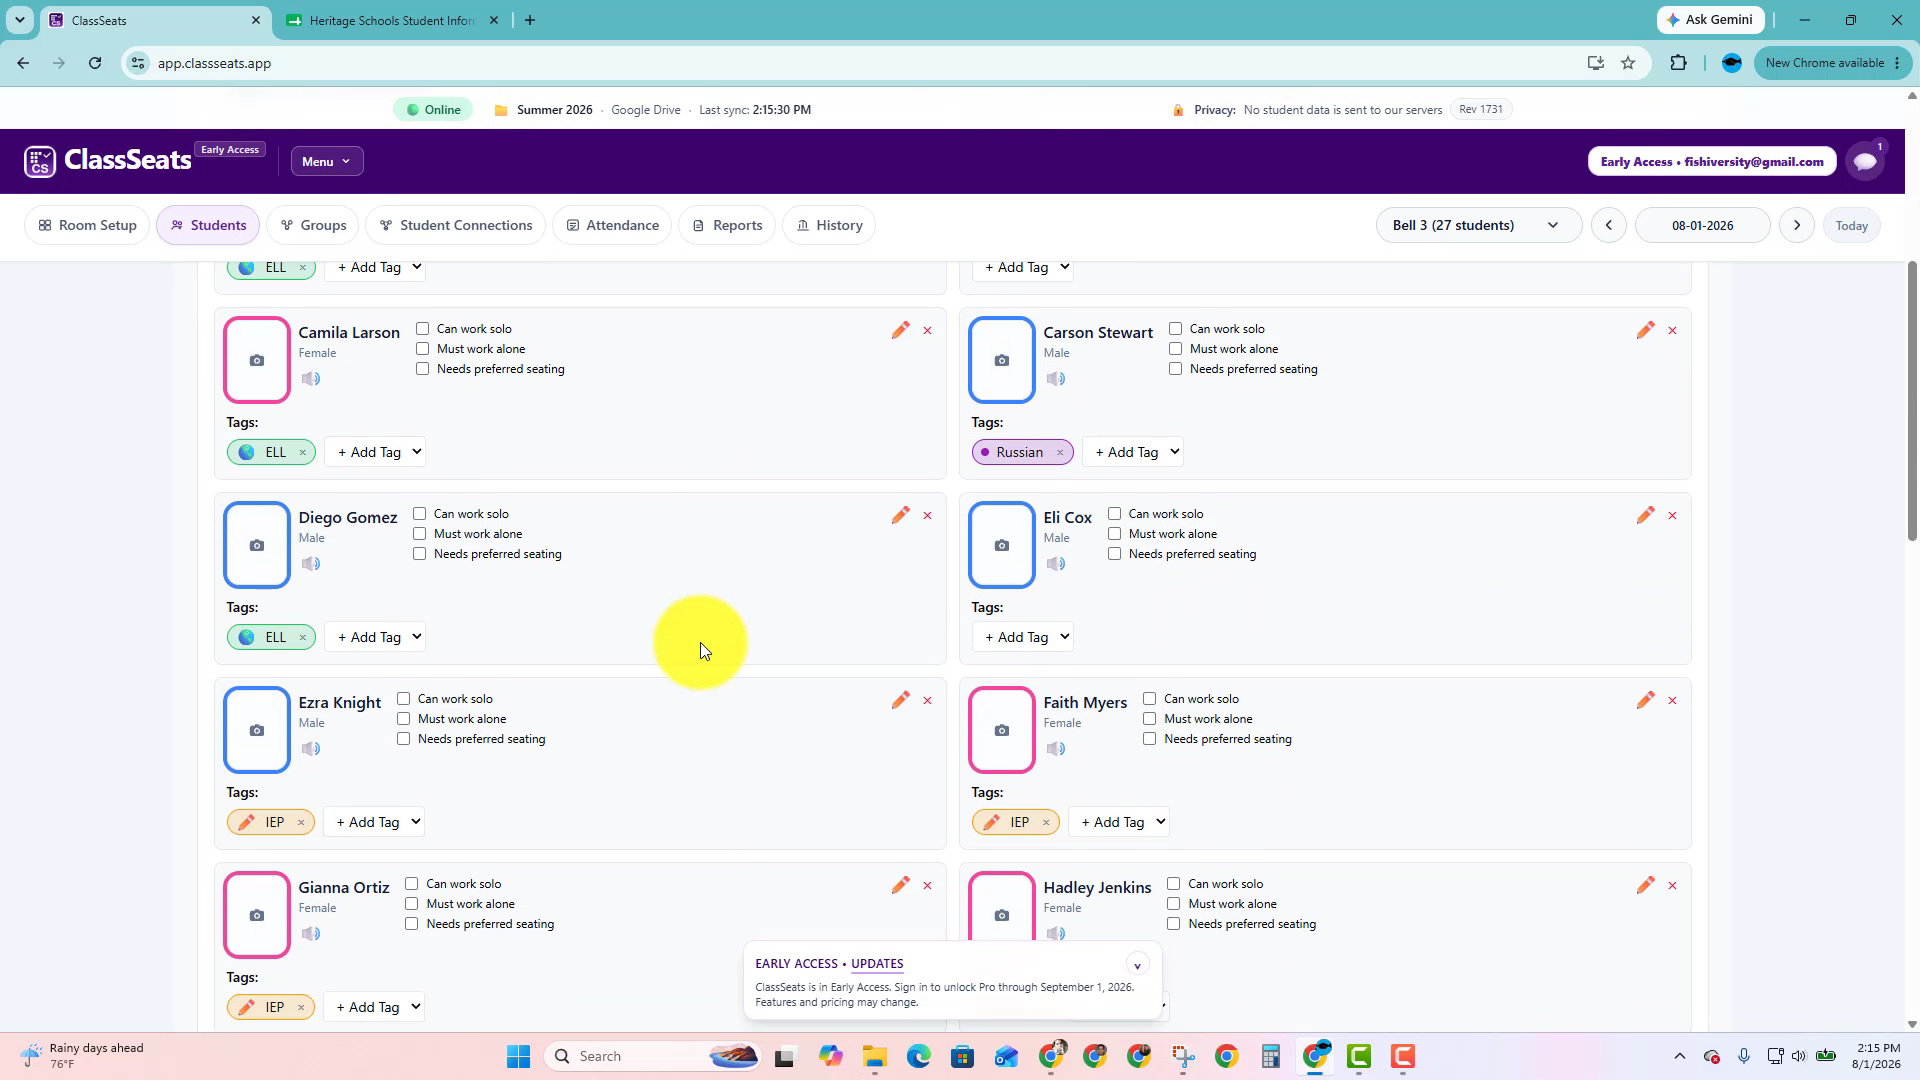
When you are finished, click Done.
The updated tags will appear on the student cards.
Video demo
Watch the full process of opening the Tag Matrix, updating tags, filtering columns, creating a new tag, and returning to the student list.
Next: Back to Student Tags