How do I view my seating chart?
Use this when you want to see your students placed into seats based on your current groups and seating arrangement.
View a seating chart
- Click the Groups tab in the top navigation.
-
Select your class period.

Select a class period from the Groups tab to view its results. - If groups have not been created yet, generate groups using Seating Arrangement mode.
-
At the top of the grouping results, click View Seating Chart.

The View Seating Chart button appears at the top of grouping results. - The seating chart will open using your current arrangement and group assignments.
Adjust what you see
-
Use the Unassigned Students panel on the left:
- Leave it open to see students without seats
- Hide it to see more of the seating chart
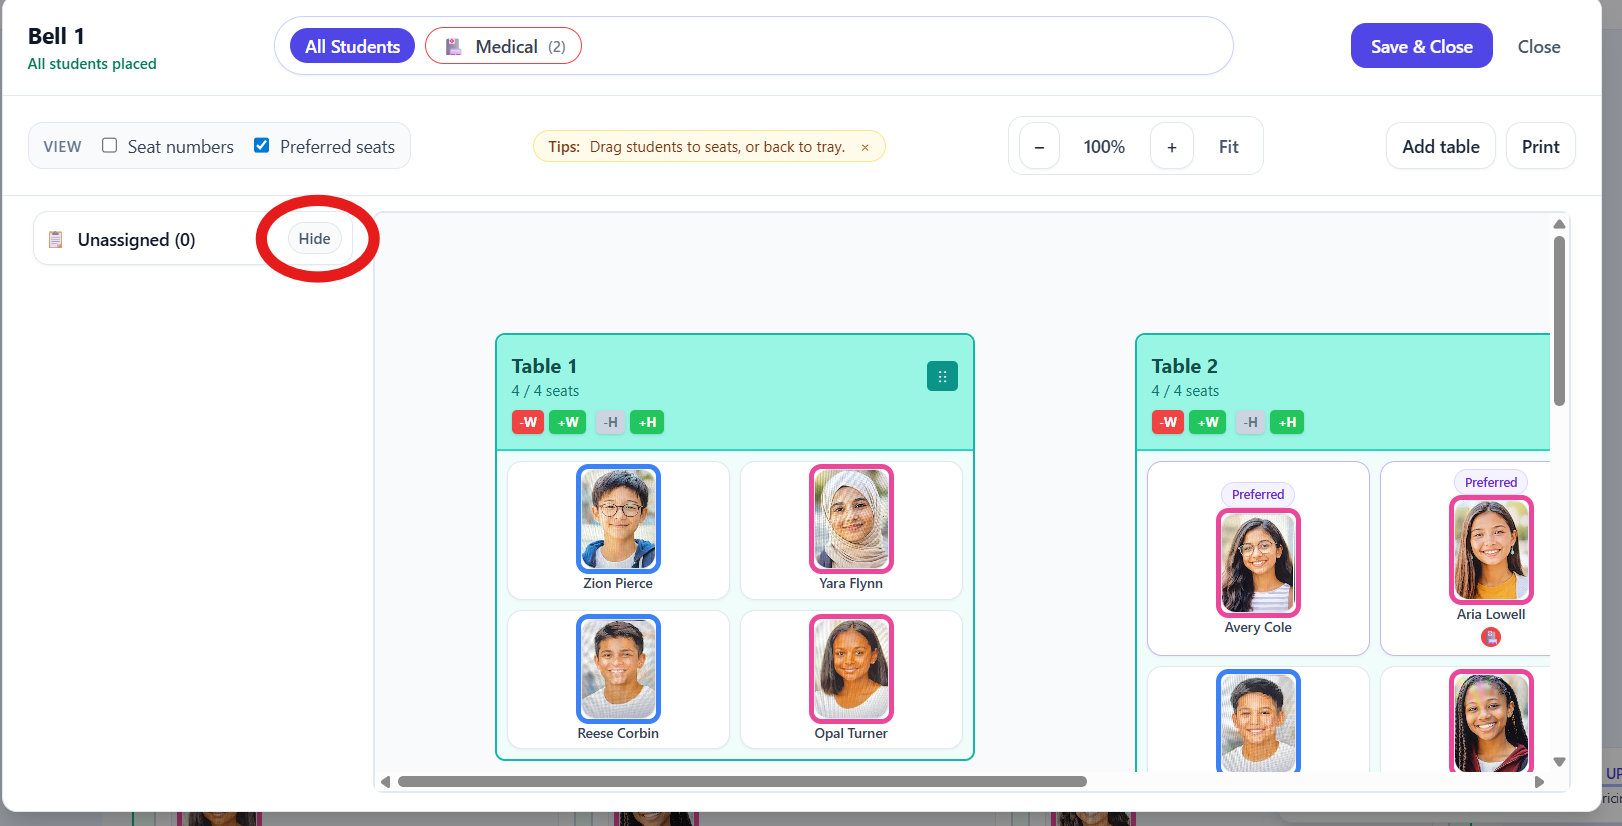
The Unassigned Students panel shows who still needs a seat. -
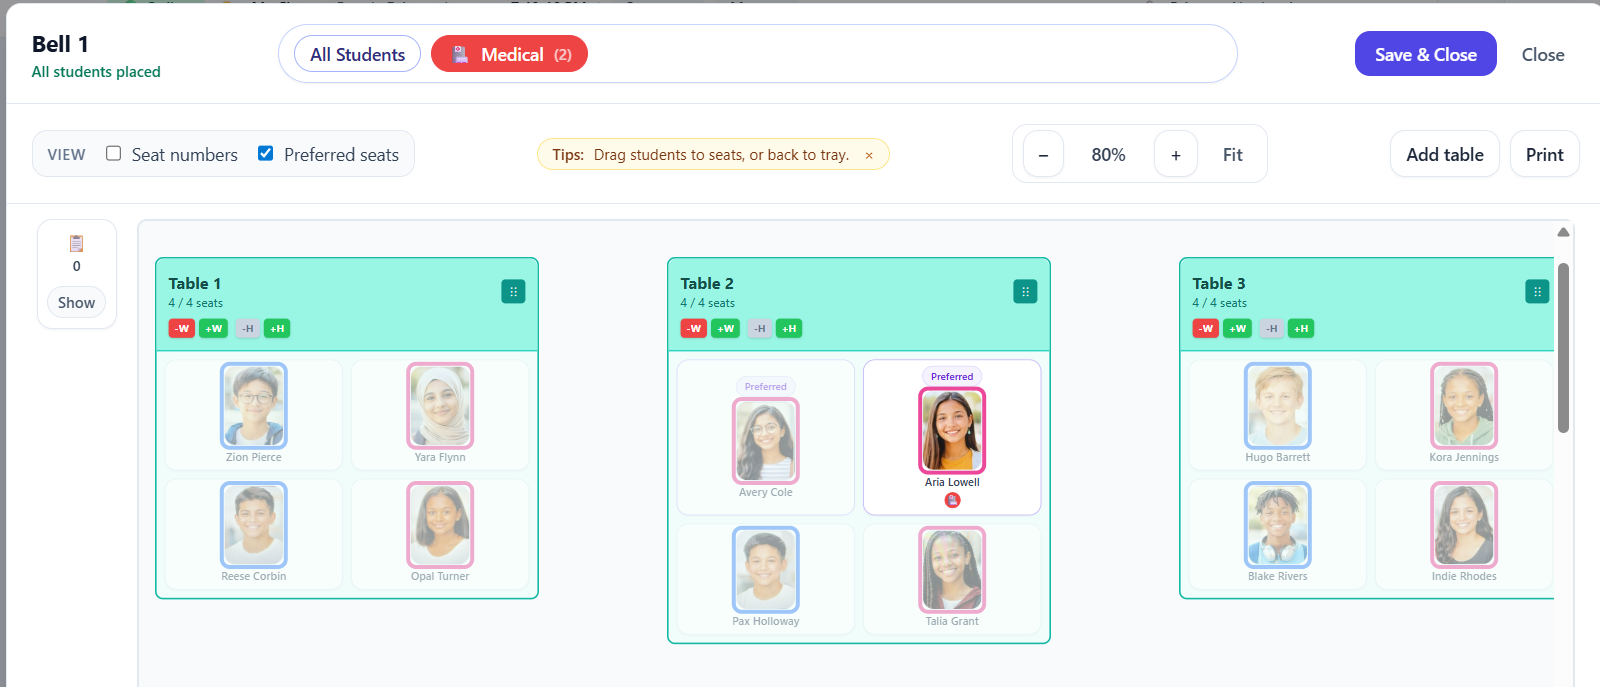
Use the zoom controls at the top of the screen to zoom in or out.

The top toolbar includes zoom controls and visibility toggles. -
Use the toggles at the top to show or hide:
- Seat numbers
- Preferred seats
-
If students have tags, select specific tags to highlight where those students are seated.
Tag filters highlight students who share specific labels.
Close the seating chart
- Click Save & Close to save any changes you’ve made to the seating chart.
- Click Close to exit without saving changes.
Tip: The seating chart always reflects your current groups and seating arrangement. If something looks off, double-check that you’re viewing the correct class period and grouping.