How do I remove a seat from a table?
Use this when you want to remove an extra seat from a table for a specific class period.
Remove a seat for one class period
- Go to the Groups tab.
- Click View Seating Chart.
- Find the table you want to remove a seat from.
-
Click the table’s Table Actions button (top-right corner of the table) and select Seat Editor.
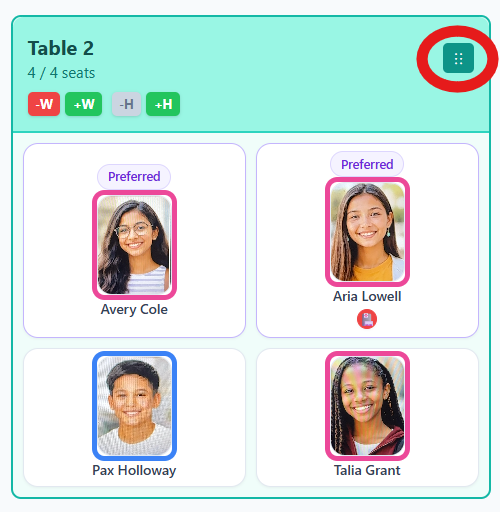
Open Table Actions to access Seat Editor. Select Seat Editor from the menu.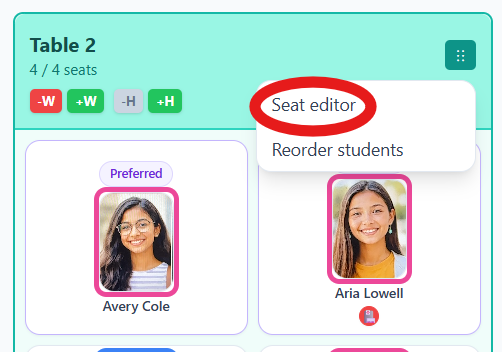
Seat Editor appears in the Table Actions list. -
Click the trash can icon on the seat you want to remove.
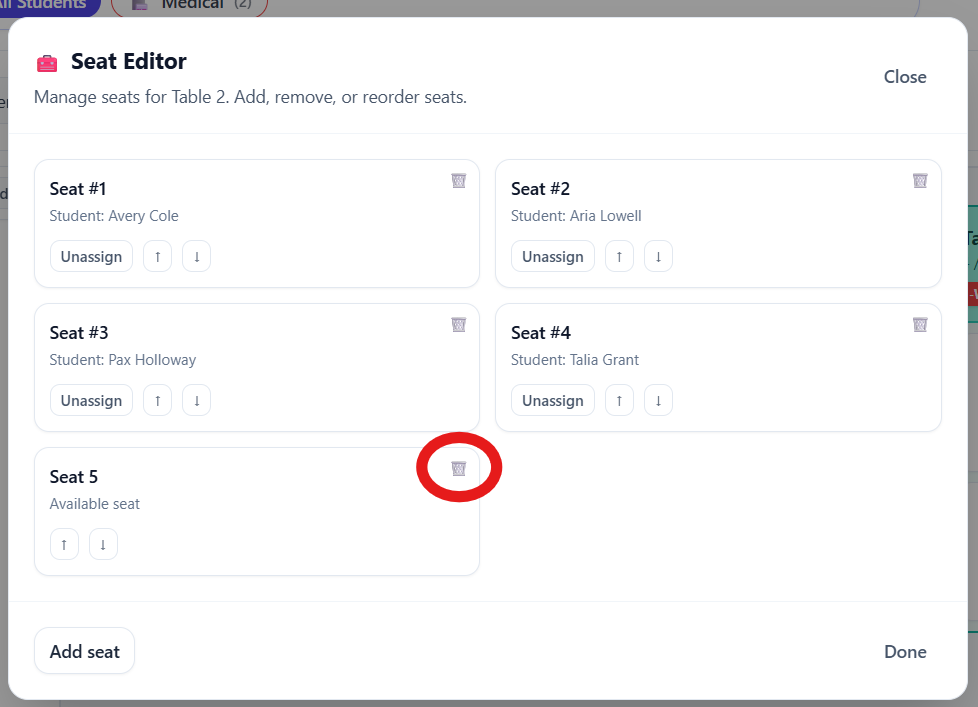
Use the trash can icon to delete a seat. -
Confirm that you want to remove the seat.
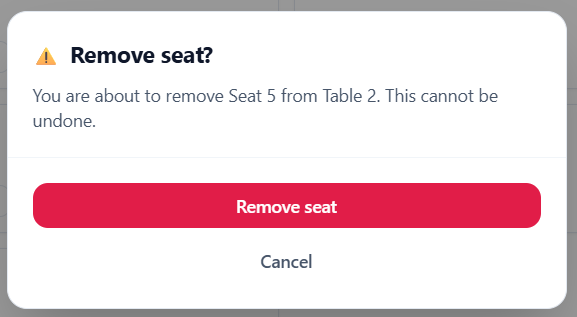
Confirm the removal to finalize the change.
Tip: To remove seats permanently (for all classes), edit your seating arrangement in the Room Setup tab instead.