How do I print my seating chart?
Use this when you want a paper copy (or PDF) of your current seating chart for a class period.
Open the Print Layout Editor
- Open your seating chart (from Groups → View Seating Chart).
-
Click Print.
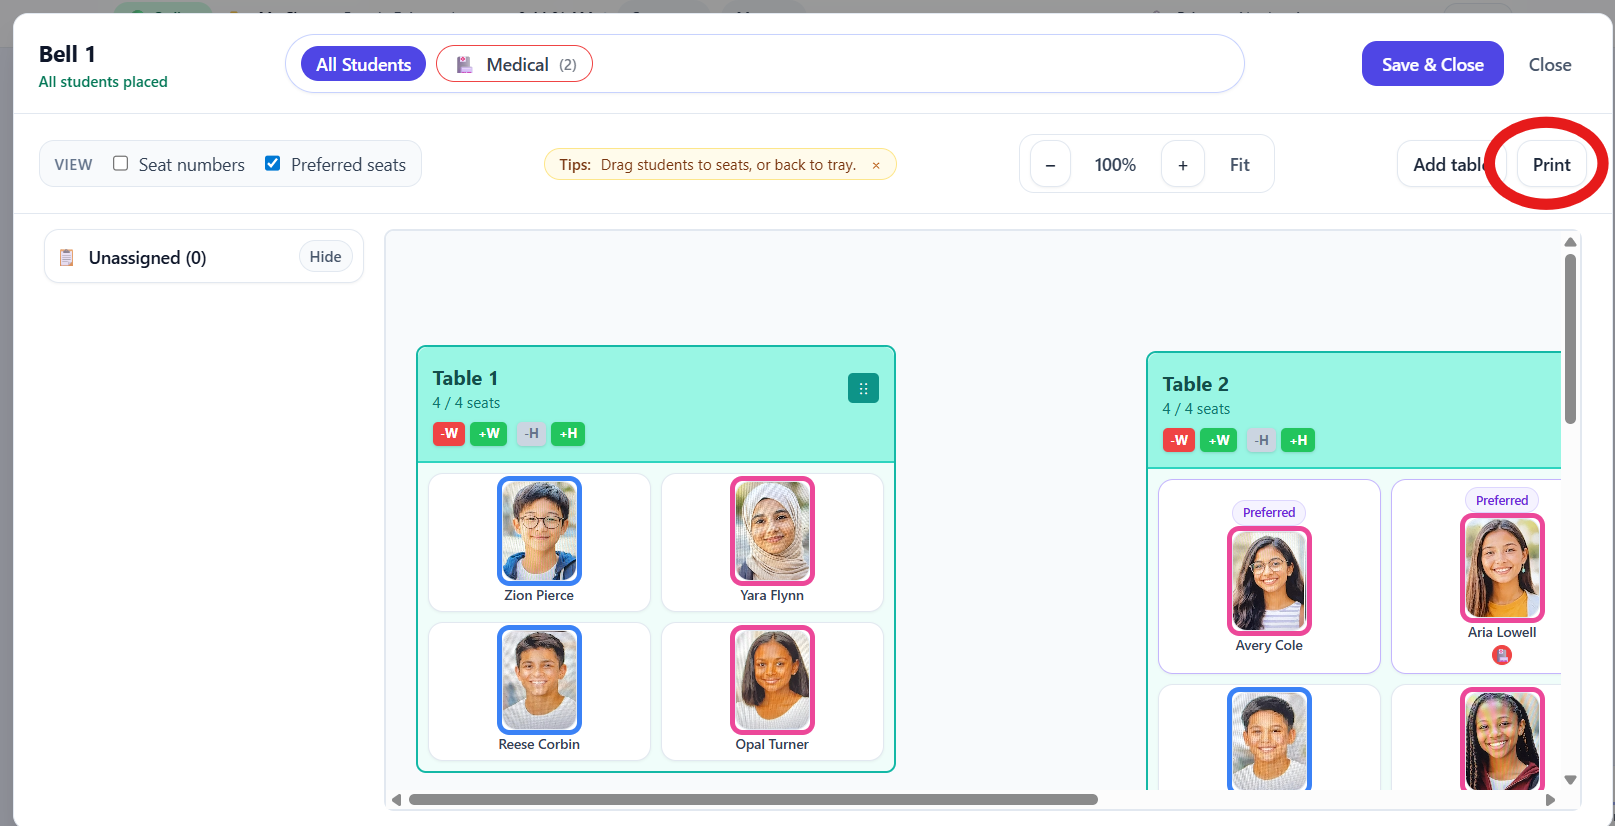
Use Print to open the layout editor. - The Print Layout Editor will open with a live preview of your seating chart.

Choose your print settings
-
Under Page, choose your Paper (for example, Letter).
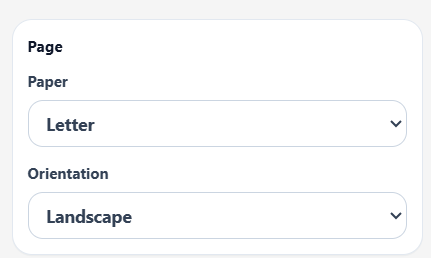
Select paper size and orientation under Page. - Choose an Orientation (Portrait or Landscape).
-
Under View, adjust zoom using - and +.
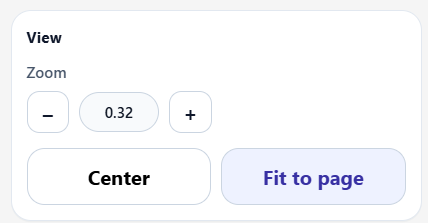
Use the zoom controls to adjust the preview. - Click Center to center the layout, or Fit to page to scale it to the page.
-
Under Content, choose what to include:
- Show photos
- Show tags
- Seat numbers
- Choose tags… (to print only selected tags)
- Text size and Photo size
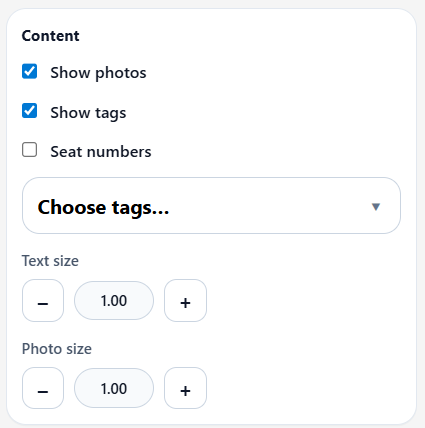
Content options control what appears in the printout.
- (Optional) Click Save Settings to save your print settings for next time.
-
Click Save Settings & Print to open your browser’s print dialog.

Use Save Settings & Print to open the print dialog. - In the print dialog, complete printing (or save as PDF).
Tip: For the most WYSIWYG results, use Default margins in the print dialog.