How do I add seat numbers to a seating chart?
Seat numbers (or letters) help your seating chart and printouts match the physical seats in your room. They’re especially useful for substitutes, routines, and any system where “Seat 12” actually means something.
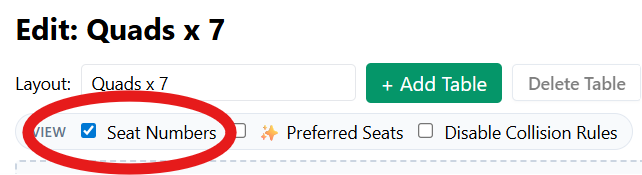
Step 1: Open Edit Layout and turn on Seat Numbers
- Open the Seating Chart tab.
- Click Edit Layout.
- Find the Seat Numbers controls and turn them on.

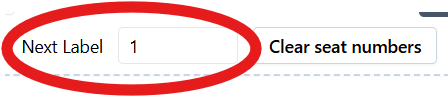
Step 2: Choose your starting value (numbers or letters)
At the top of the Seat Numbers area, set a starting value.
This can be a number (like 1) or a letter (like A).
- Numbers: 1, 2, 3…
- Letters: A, B, C…
Step 3: Click seats to assign numbers (or letters)
- Click a seat to assign the next number/letter.
- Keep clicking seats in the order you want them labeled.
How do I clear a seat number that’s already assigned?
If a seat already has a number or letter, you can remove it:
- Click the assigned label to clear it.
How do I restart numbering in the middle of my arrangement?
If your room has sections (pods, lab stations, table groups, etc.), you can restart your numbering anytime:
- Click the Starting value box.
- Type the value you want to restart with (example:
1orA). - Continue clicking seats to assign from that new starting point.
How do I clear all seat numbers?
If you want to start completely over, use the one-click reset:
- Click Clear all seat numbers.
- Confirm (if prompted).
- All labels will be removed and you can begin again.

Tip
Seat numbers (and letters) are part of the layout, not the student assignments.
If you switch layouts later, you may also be switching seat labels.
Next: How do I print seating charts? 🛠️ Coming Soon!