How do I print a roster?
Use this when you want a printable class roster for a specific period, with optional sorting and columns.
Select the roster report
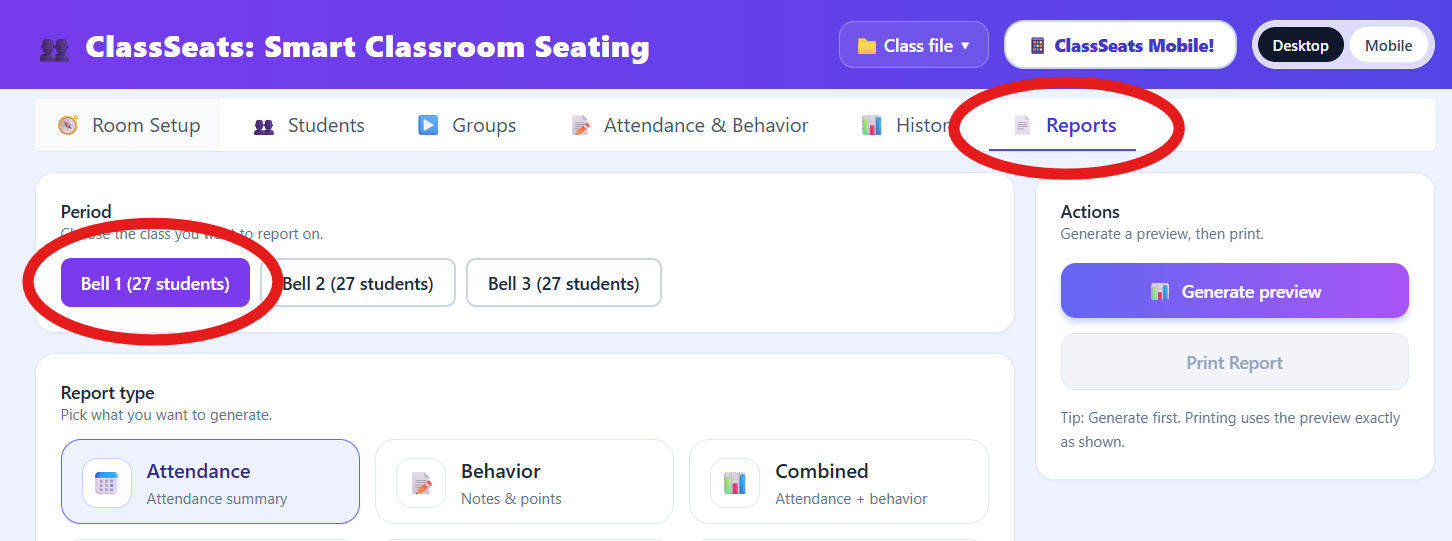
- Click the Reports tab in the top navigation.
- Select the class period you want to print.
- Under Report type, click Roster.
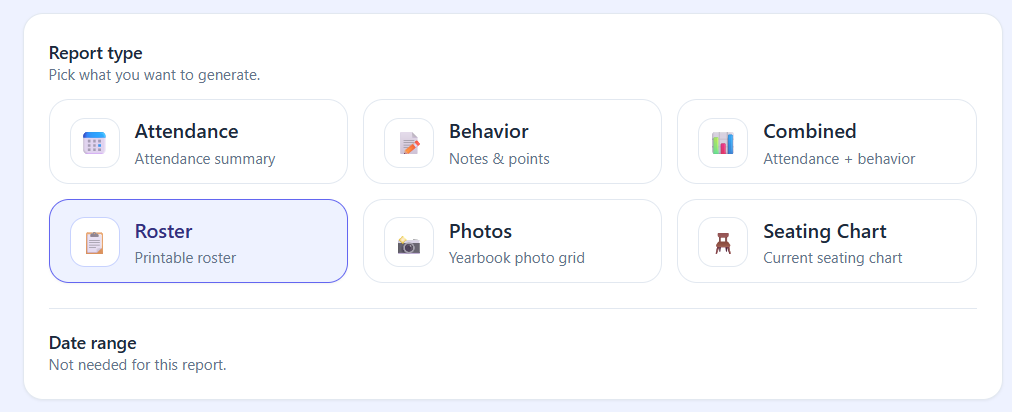
Choose roster settings
-
Choose how the roster should be sorted:
- Last Name
- First Name
- Seat Number

Choose the roster sort order from the dropdown. -
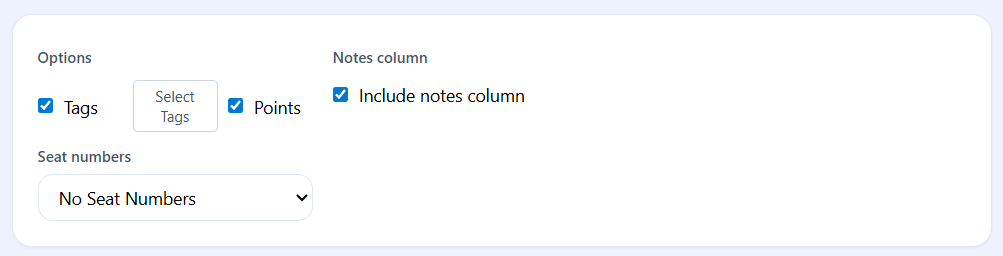
Under Options, select what to include:
- Tags (optional)
- Points (optional)
- Include notes column (optional)
- Seat numbers (No Seat Numbers, Filled Seats Only, or All Seats)
Set optional columns and seat number rules in Options. -
If Tags is enabled, click Select Tags and choose which tags to include.
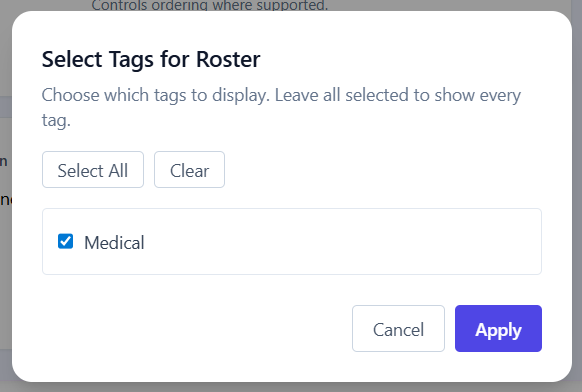
Pick the tags you want included in the roster.
Preview and print
-
Click Generate preview.
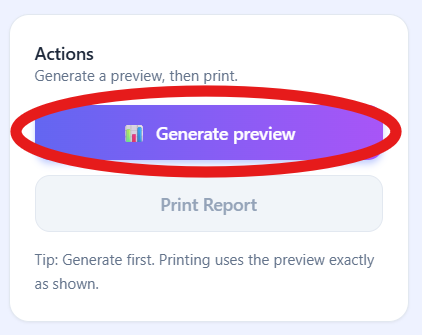
Generate a preview to see the roster output. -
Review the roster in the preview pane at the bottom of the screen.
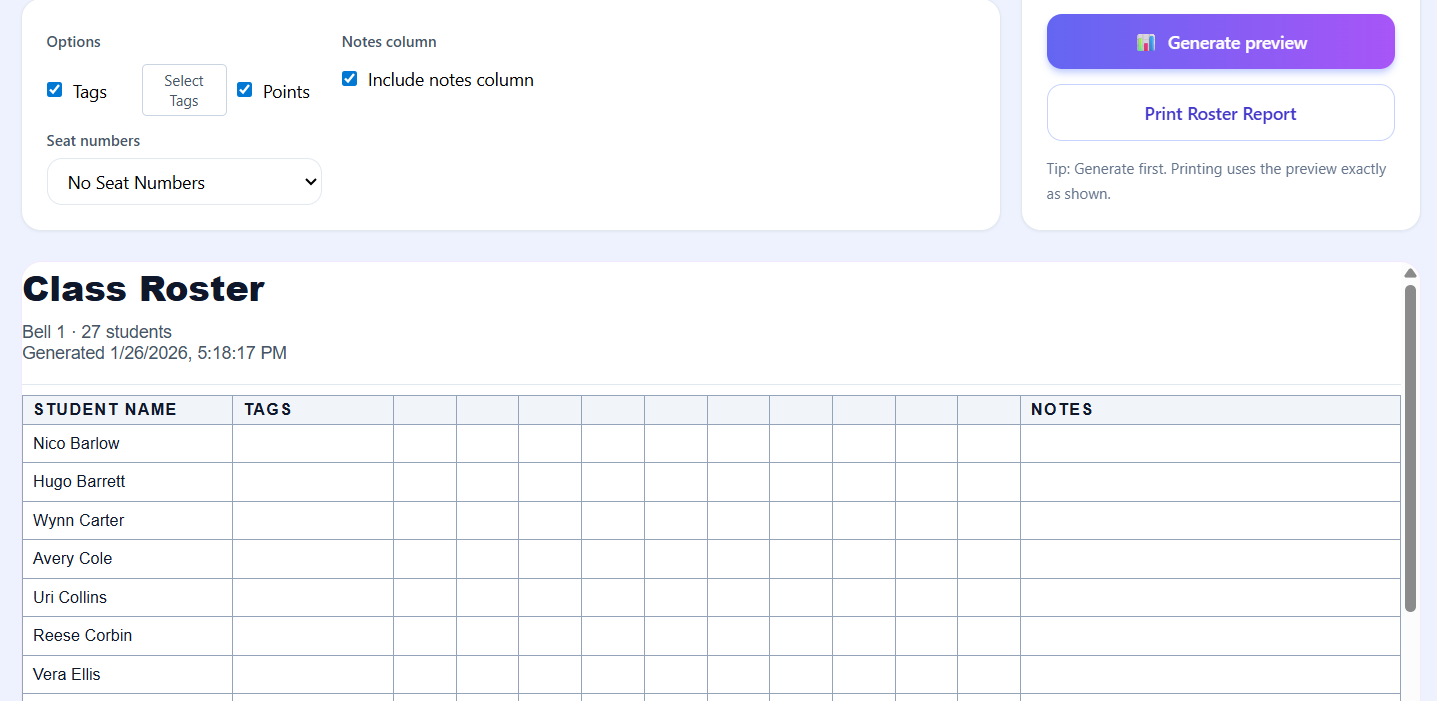
The preview pane shows exactly what will print. -
Click Print Roster Report.
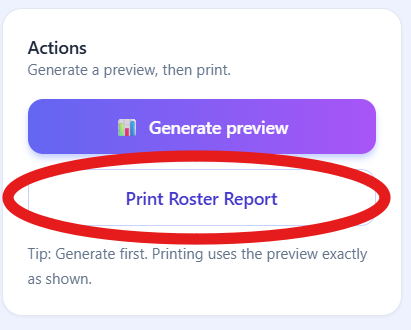
Use the print button after reviewing the preview. - Use your system’s print dialog to print or save as a PDF.
Tip: Printing always uses the preview exactly as shown. If something looks off, adjust the options and generate the preview again before printing.