How do I add student photos?
Use this when you want to take and save student photos using ClassSeats Mobile.
Open the correct class
- Open ClassSeats Mobile on your phone or tablet.
- Make sure you are connected to Google Drive.
-
Load the file and class you want to add photos to.

Make sure your class is loaded before you start taking photos.
Take a student photo
- Find the student you want to photograph.
-
Tap the camera icon next to the student’s name.
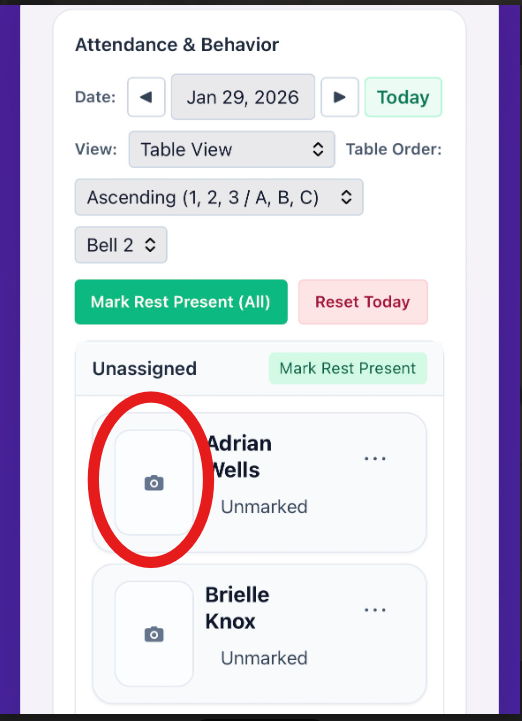
Use the camera icon next to a student to open the photo capture screen. - Frame the shot (a shoulders-up headshot works best).
-
Tap Take photo.
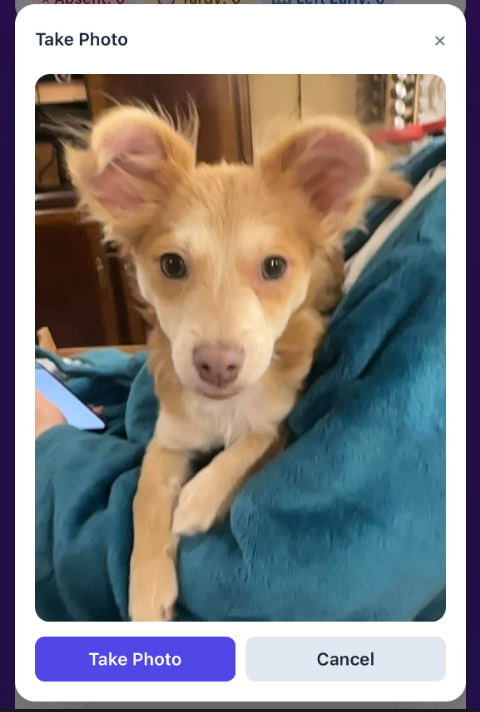
Use the capture screen to take a clear student photo. -
Choose Retake to try again, or Accept to save the photo.
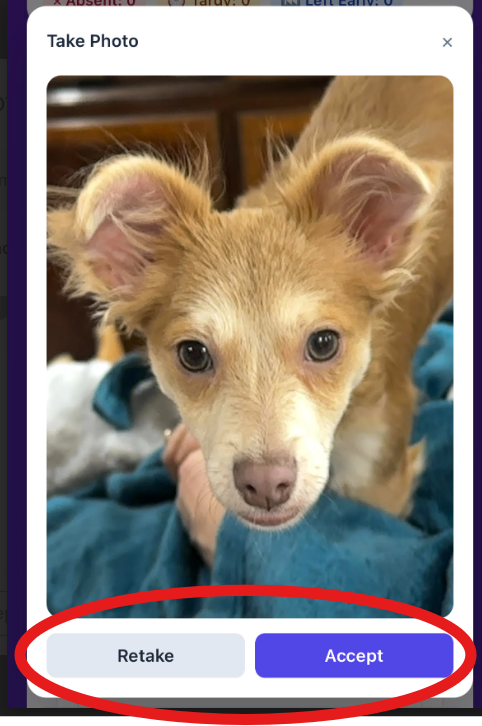
Confirm the photo before it’s saved to the student.
Where the photo is used and stored
- The photo becomes available everywhere photos are used in ClassSeats (desktop and mobile).
- Photos are saved to your Google Drive in the ClassSeats/studentPhotos folder, using the student’s name.

Tip: Use good lighting and a plain background for clearer, more consistent student photos.