How do I use Full-Screen Seating Chart view?
Full-Screen view lets you see your entire seating chart at once. It’s ideal for projecting the chart for students or reviewing the full layout without other interface distractions. This feature is available in ClassSeats Desktop.
Open the Seating Chart
- Go to the Groups tab.
- Generate your groups if needed.
- Click View Seating Chart.

The Seating Chart opens in a modal window.
Enter Full-Screen mode
- In the Seating Chart window, click Full Screen.
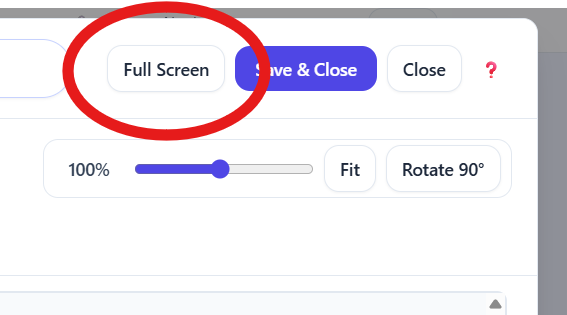
The chart expands to fill your screen.
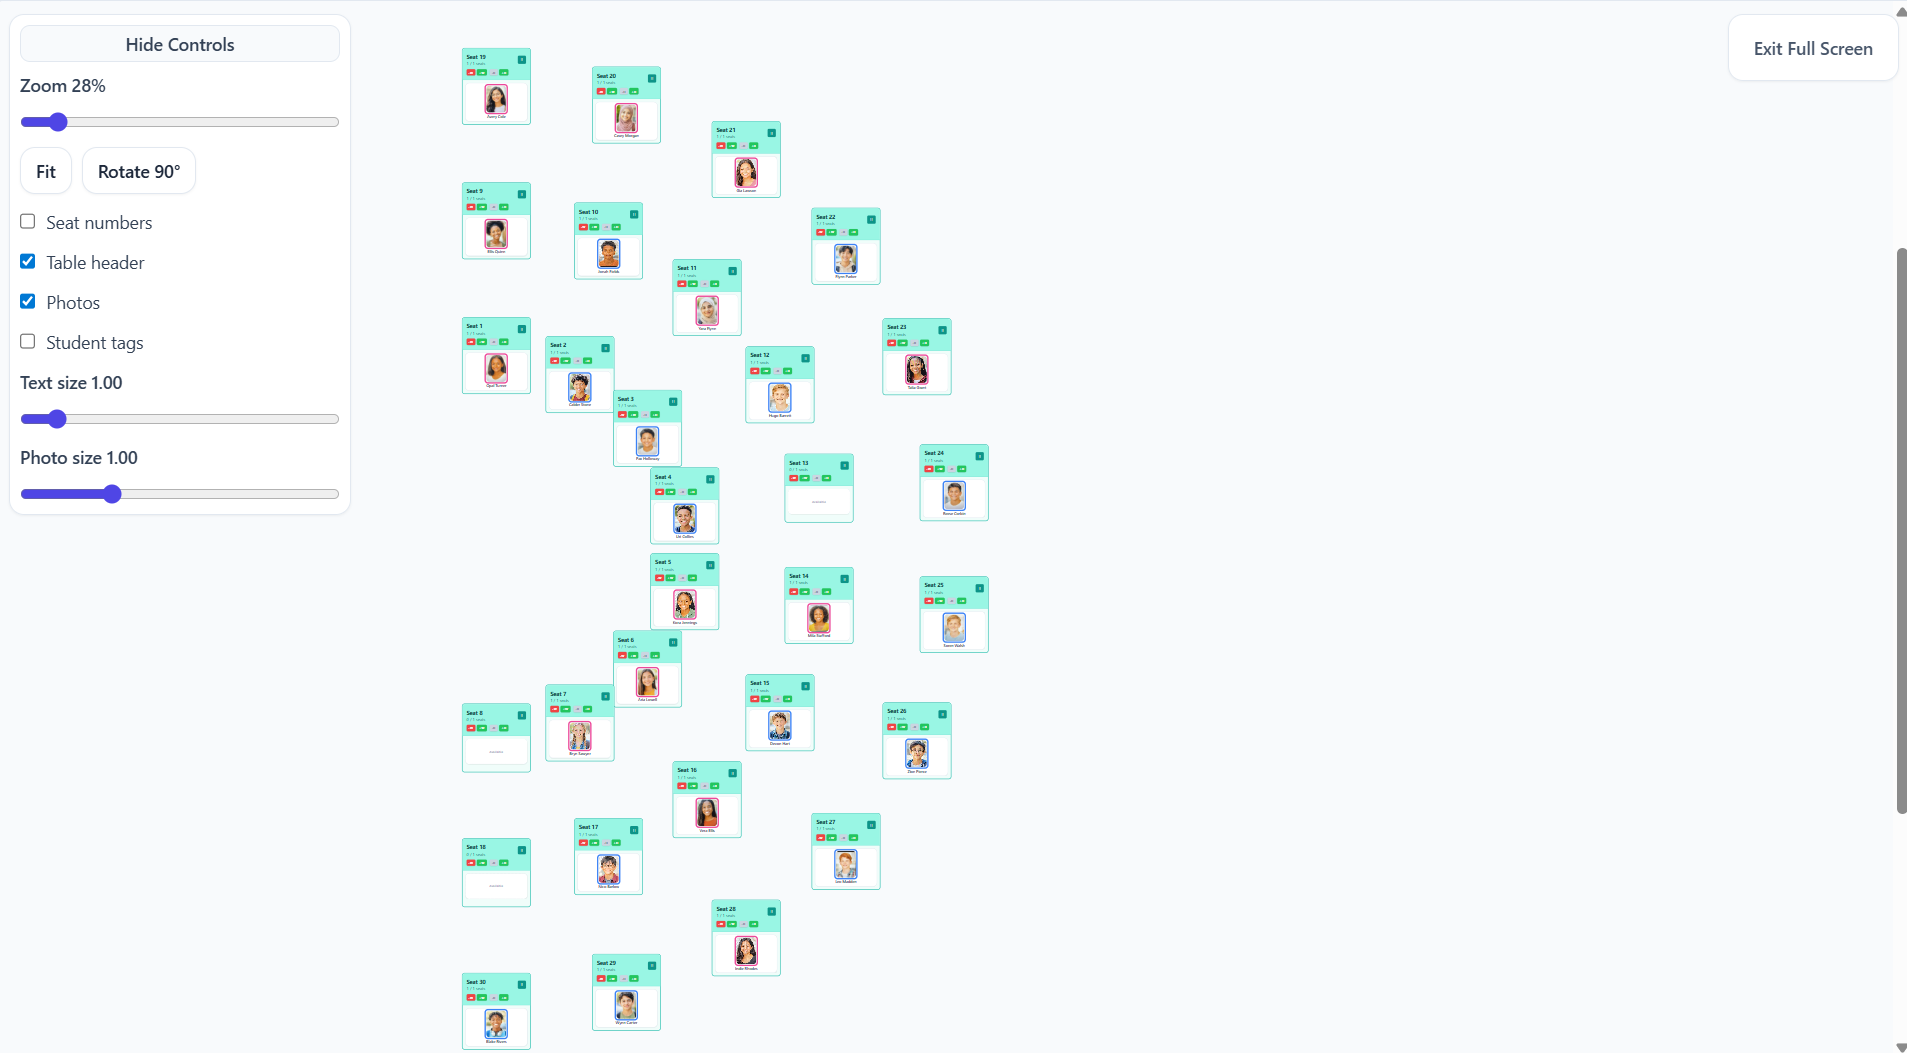
Adjust the view
In Full-Screen mode, you can customize how the chart appears.
- Adjust Zoom
- Click Fit to fit the chart to the screen
- Click Rotate 90° to rotate the chart
-
Toggle:
- Seat numbers
- Table header
- Photos
- Student tags
- Adjust Text size
- Adjust Photo size

Hide controls
If you are projecting the chart, you can hide the controls panel for a cleaner view. The chart remains visible while the controls are hidden.
Exit Full-Screen mode
To leave Full-Screen mode, click Exit Full Screen in the upper-right corner.

Tip: If you’re projecting your seating chart, consider turning off Student tags if they include information that isn’t meant to be shared publicly. A quick toggle keeps the view clean and protects student privacy.