How do I enter student preferences?
Use this when your students have already completed a Google Form and you want to import their responses into ClassSeats.
Open the Student Preferences Wizard
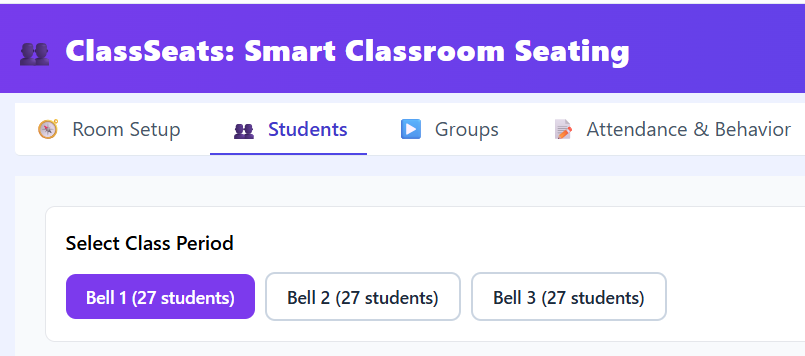
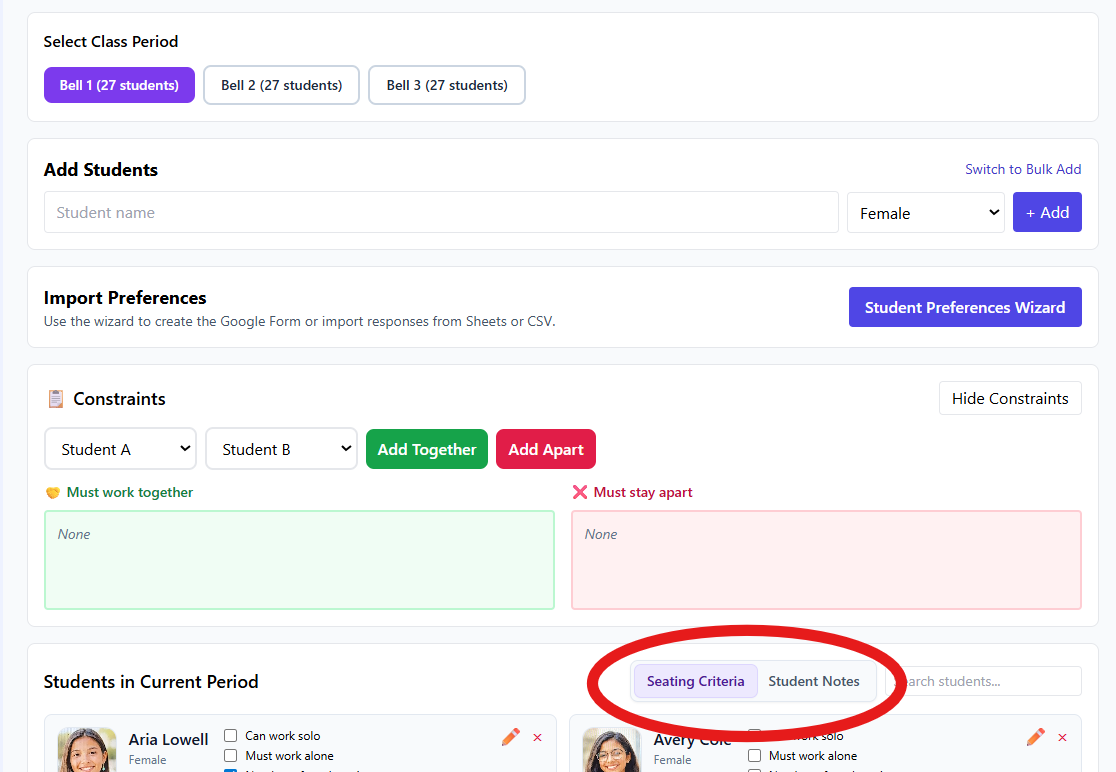
- Click the Students tab.
- Select the correct class period at the top of the page.
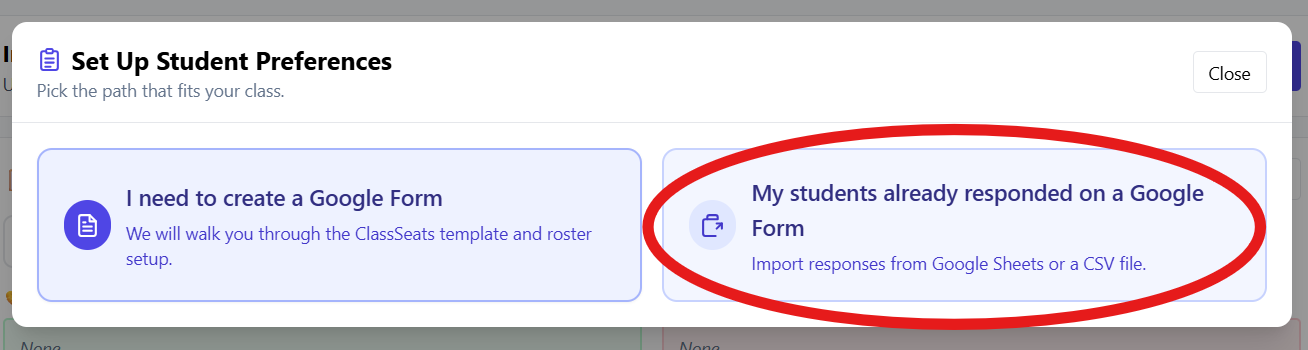
- Click Student Preferences Wizard.
- Select My students already responded on a Google Form.

Send Google Form responses to Google Sheets
- In another browser tab, open your Google Form.
- Click the Responses tab.
- Click Link to Sheets, then click Create to open the response spreadsheet.
Review responses in Google Sheets
- Review the responses for obvious issues.
- Pay special attention to the “select your name” question.
- If a student selected the wrong name, correct it directly in the Sheet.
Copy responses from Google Sheets
- Click anywhere in the response table (for example, cell A1 or A2).
- Press Ctrl/Cmd + A to select all response data (including headers).
- Press Ctrl/Cmd + C to copy.
Paste, preview, and apply in ClassSeats
- Return to ClassSeats.
- Click inside the box labeled Paste Google Sheets responses.
- Press Ctrl/Cmd + V to paste the data.
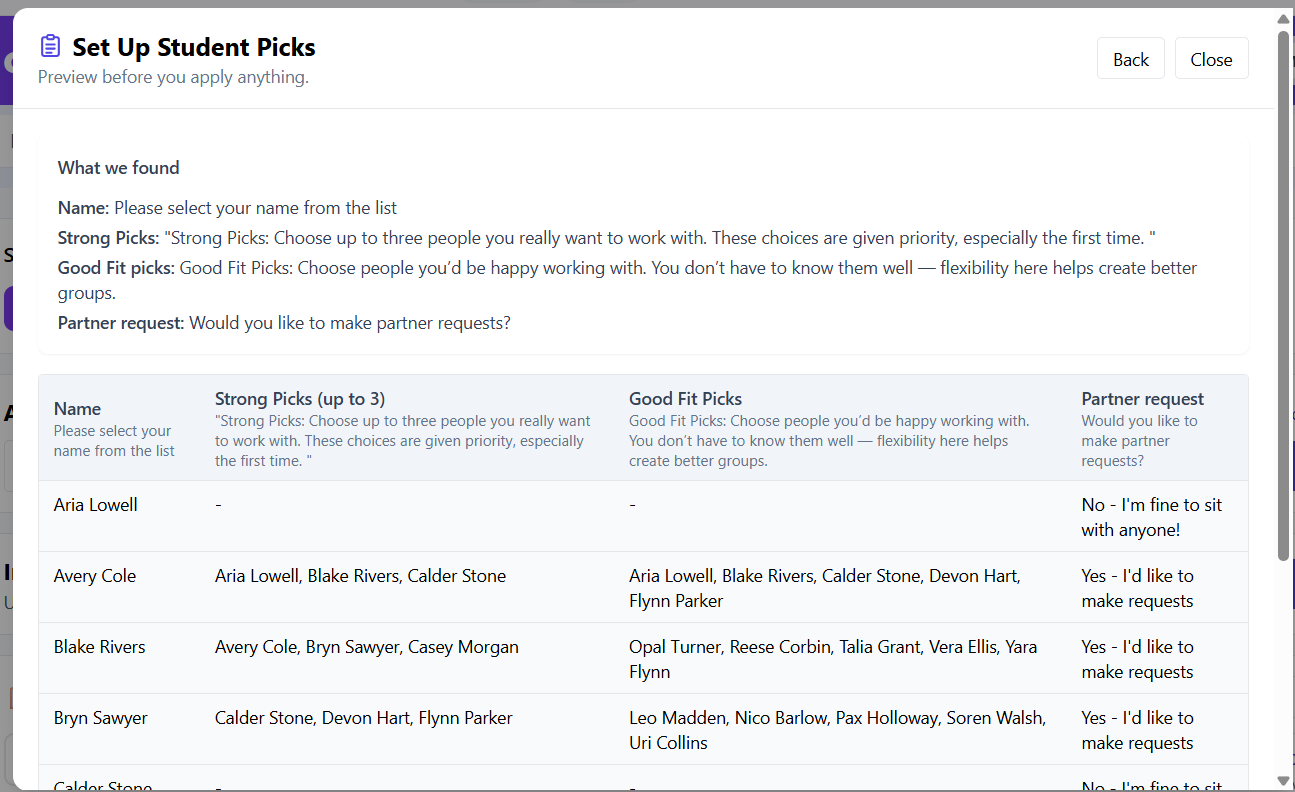
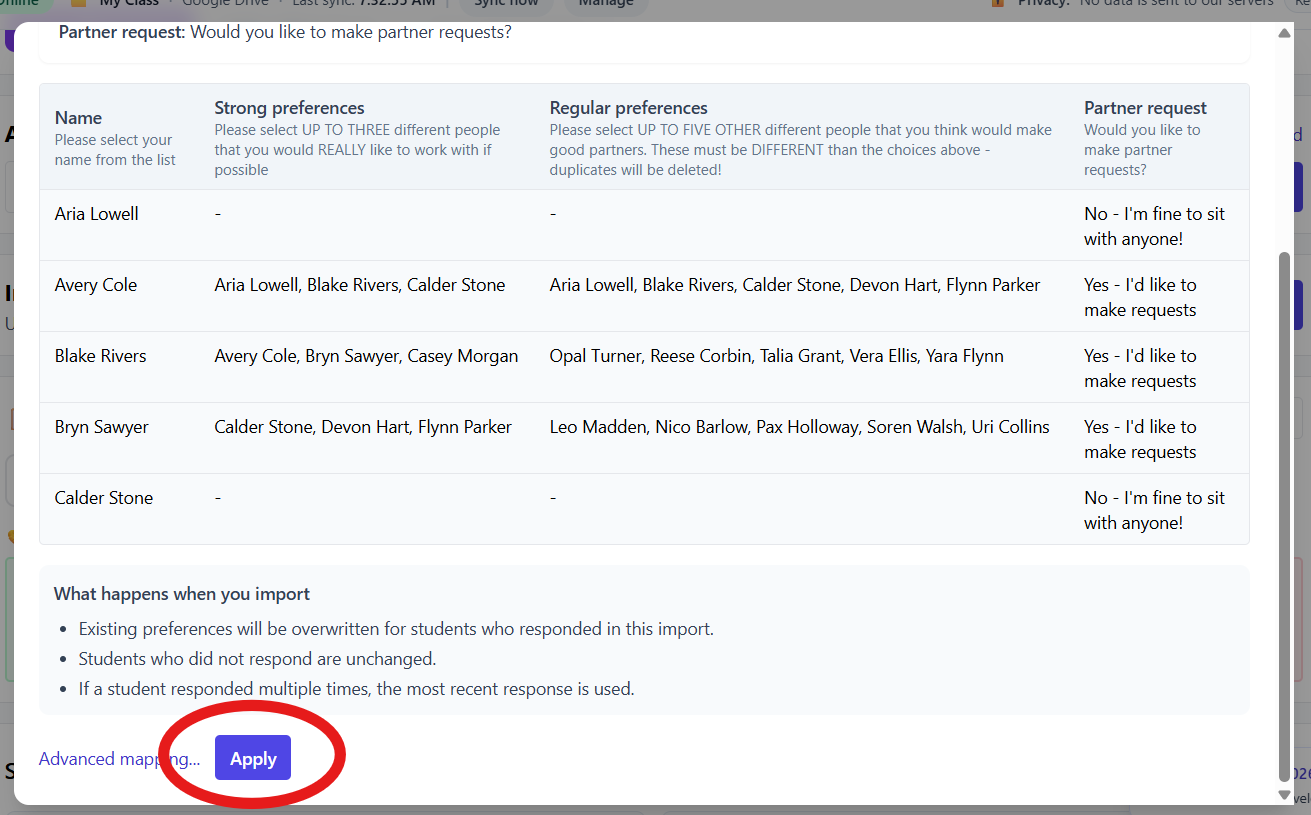
- Click Preview.
-
Review the preview to confirm:
- Student names are matched correctly
- Strong Picks and Good Fit Picks are detected
- Partner requests are identified
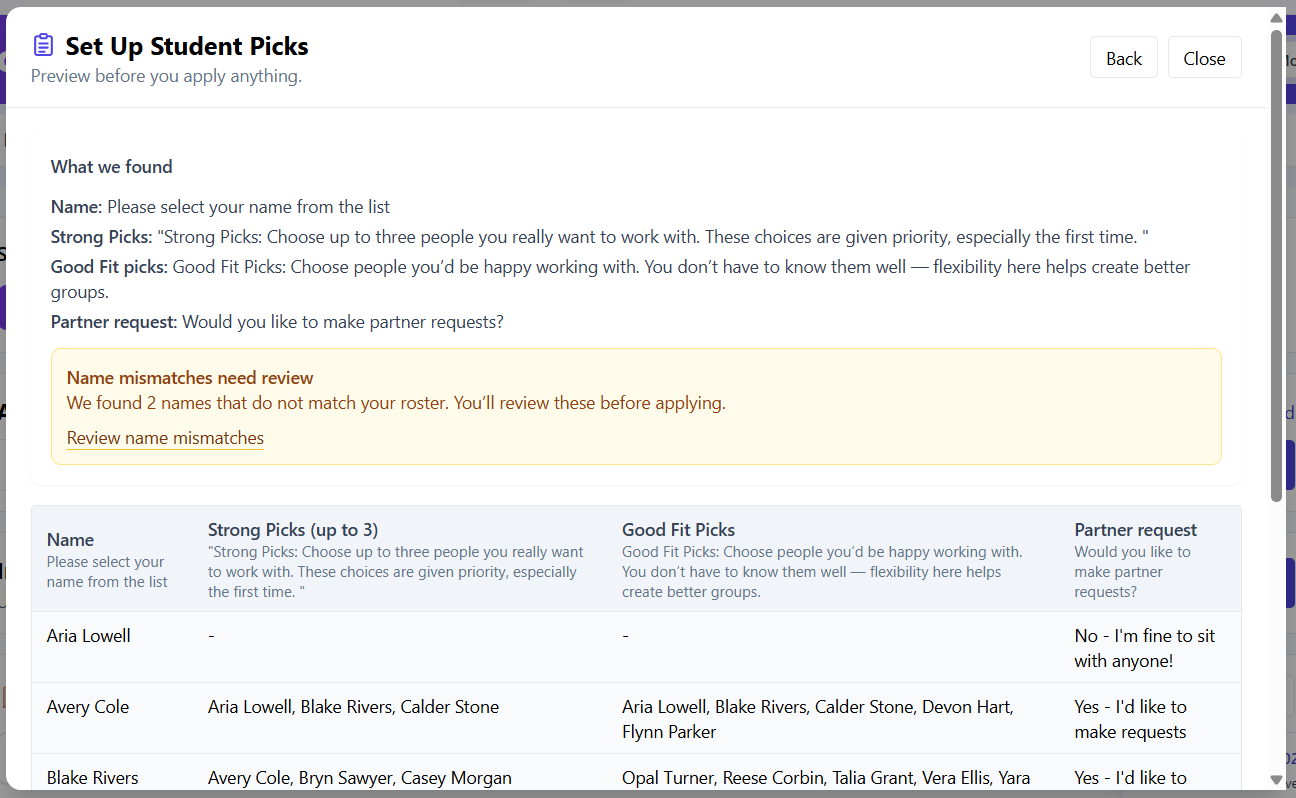
- If any names do not match your roster, ClassSeats will flag them for review before applying.
- Click Apply to import the preferences.

Verify preferences on student cards
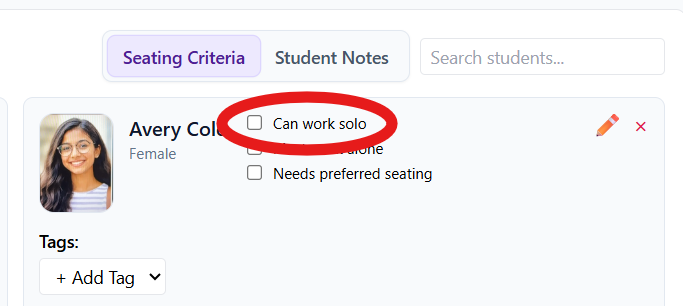
- In the Students tab, switch to Seating Criteria.
- Spot-check student cards to confirm preferences are now visible.
Recommended teacher review
- Review the Google Sheet for students who indicated they prefer to work alone.
- In ClassSeats, manually check Can work solo for students you agree with.
- Review responses to “Is there anything else you need me to know?”
- Add relevant information as constraints (for example, students who should not be seated together), or take other action as needed.
Tip: If you used your own Google Form instead of the ClassSeats template, use the Import a CSV instead link in the wizard. This process is covered in a separate, advanced article.