How do I collect student preferences?
Use this when you want to collect partner preferences from students using the built-in Student Preferences Wizard and a Google Form.
Create a student preferences form
- Click the Students tab.
-
Select the correct class period at the top of the page.
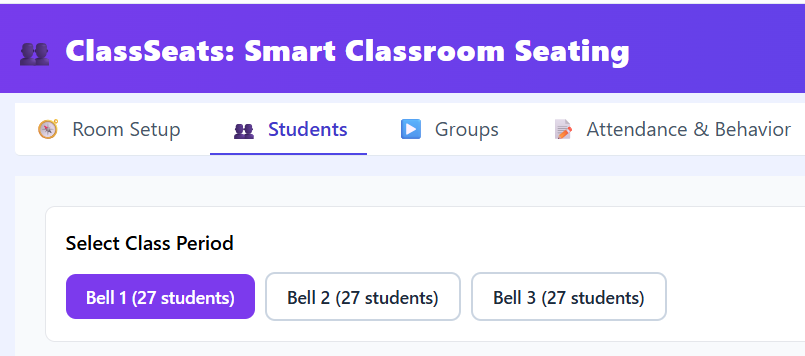
Start on the Students tab and confirm the active class period. - Confirm your roster is up to date (no new or removed students).
-
Click Student Preferences Wizard.

Launch the Student Preferences Wizard from the Students tab. -
Select I need to create a Google Form.

Choose the option to generate a Google Form template. - Click Open ClassSeats Form Template.
- Make a copy of the template. This creates your own version in Google Drive.
- Rename the form to something meaningful (for example, Bell 1 Seating Preferences).
Add your class roster to the form
- Return to ClassSeats and click Next: Add roster to the form.
- Click Copy Student Names.
- Go back to the Google Form.
- Paste the student names (Ctrl/Cmd + V) into all three list questions in the template.
Distribute the form to students
- Share the Google Form with your students.
-
Explain that students can choose:
- Up to three Strong Picks (people they really want to work with)
- As many Good Fit Picks as they like (people who would make good partners)
- Let students know that choosing more picks increases the chances of being placed with someone they selected.
- Make sure students understand not to select themselves as a choice. It will be ignored.
- Tell students that choosing the same student multiple times does not increase the chance that that preference will be selected. In fact, the second choice will be deleted.
Tip: You can use your own Google Form instead of the template, but that requires CSV mapping and is covered in an advanced article.