How do I connect Google Drive?
Use this when you want ClassSeats to save your data in your Google Drive (instead of only on this device), so it can sync and be available on other devices.
Connect Google Drive from the Welcome screen
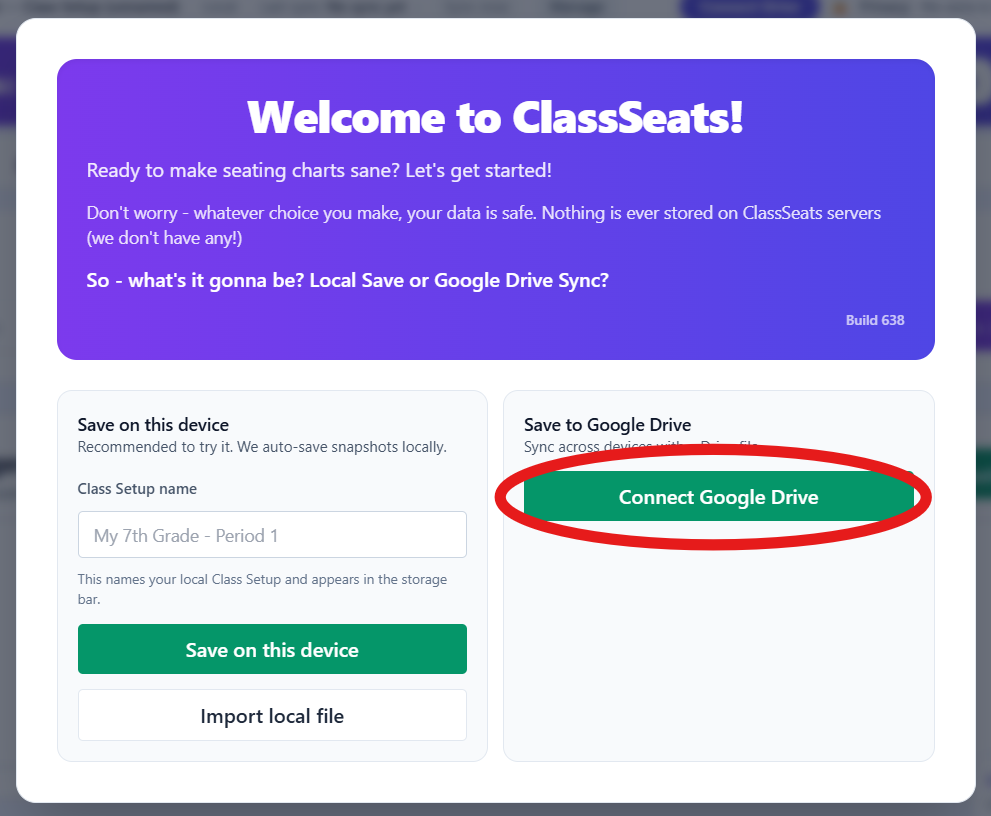
- Go to app.classseats.app and wait for the Welcome to ClassSeats! screen to appear.
- In the Save to Google Drive panel, click Connect Google Drive.
- In the Google sign-in window, select (or enter) your school Google account.
- If Google shows a confirmation screen, click Continue.
- If Google asks for permission, click Continue to allow access.
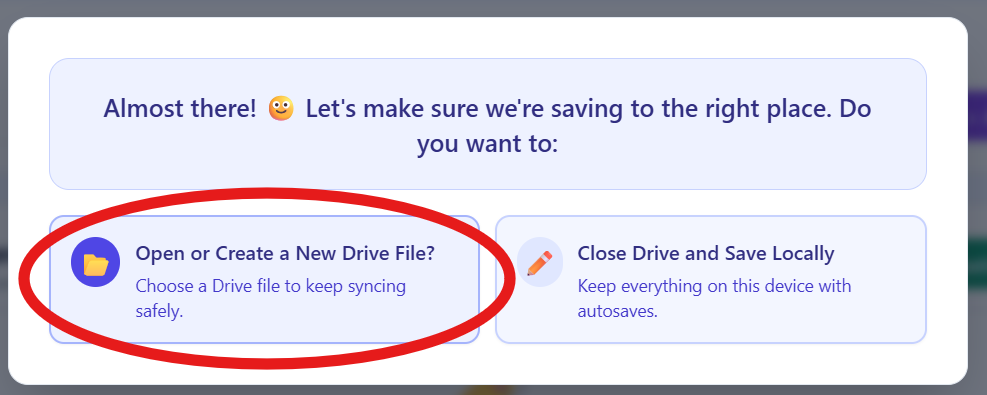
- When you see the Almost there! message, click Open or Create a New Drive File.
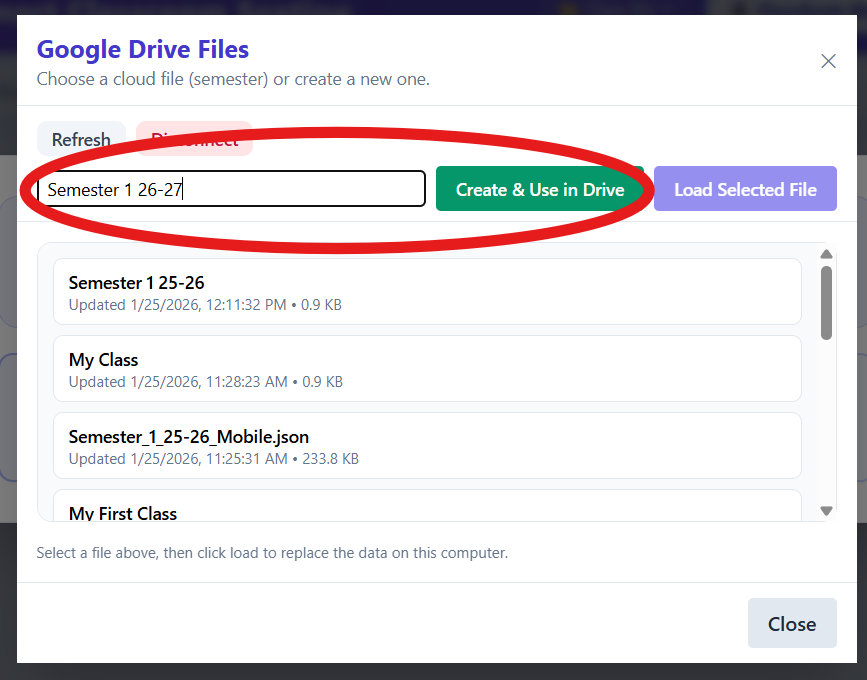
- In the Google Drive Files window, click the name field and type a file name.
- Click Create & Use in Drive.
- Click Close.
- Verify you are now working online and the file name looks correct.

If you were already saving locally
- From the main ClassSeats screen, click Connect Drive (top bar).
- In the Google sign-in window, select your school Google account.
- Click Continue on the Google confirmation screen (if shown).
- Click Continue on the permissions screen (if shown).
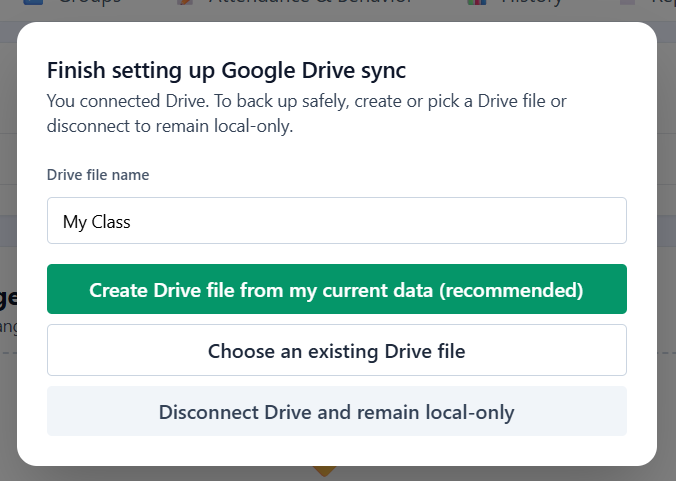
- In the Finish setting up Google Drive sync window, click in the name field and enter a file name.
- Click Create Drive file from my current data (recommended).
- Verify you are now online and the file name looks correct.

Tip: If you don’t see your Drive file list right away, use Refresh in the Google Drive
Files window.