Creating groupings (placing students into seats)
Creating groupings is when you and ClassSeats actually place students into seats. Using your seating arrangement as a template, ClassSeats generates a starting seating chart that you can adjust as needed.
Think of groupings as “today’s seating”, built on top of your room setup.
Step 1: Go to the Groupings tab and select your class
- Open the Groupings tab.
- Under Select Class Period, choose the class you want to work with.

Step 2: Choose how groups should be created
ClassSeats gives you several ways to create groups. For most teachers, the simplest option is to use the seating arrangement you already set up.
To do this:
- Select Use Seating Arrangement.
- Choose the seating arrangement you want to use from the dropdown.
This tells ClassSeats to create one group per table, using the table capacities you defined earlier.

Step 3: Generate groups
Once your options are set:
- (Optional) Leave Balance by Gender checked if you want ClassSeats to try to create more balanced groups when possible (for example, avoiding one student being placed with a group of all students of another gender).
- Click Generate Groups.
ClassSeats will generate a set of groups based on your seating arrangement and display the results.
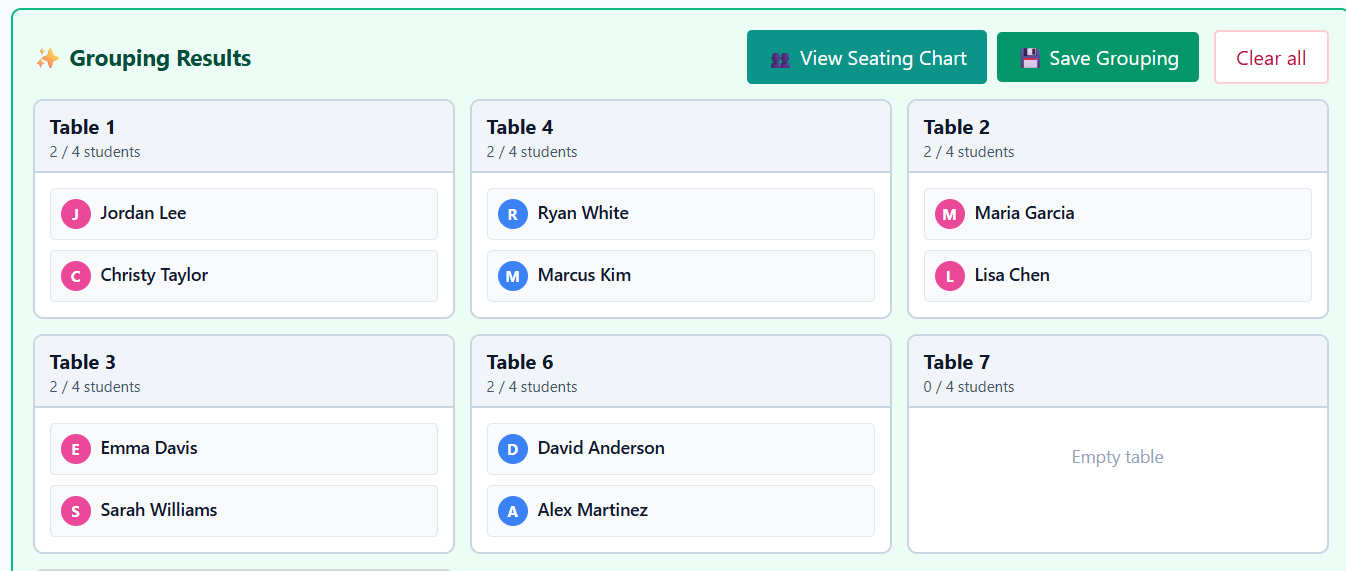
Step 4: Adjust groups manually (optional but common)
The generated groups are a starting point, not a final answer. Use your professional judgment to tweak the results.
You can manually adjust groups by clicking and dragging students between tables.
Moving students between groups
- Click and drag a student from one table to another to move them.
- Each table has a maximum capacity based on your seating arrangement.
If a table is already full, you’ll see a message letting you know.

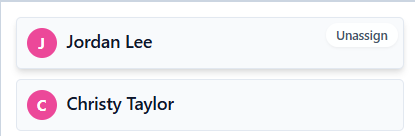
Unassigning a student
If you want to move a student into a full table:
- Hover over a student’s card in a group.
- Click Unassign.
- The student will move to the Unassigned Students tray at the bottom of the screen.
- Drag the student from the unassigned tray into the group you want.
This gives you full control over the final grouping.

Step 5: Save the grouping
Once you’re happy with the groups:
- Click Save Grouping.
Your grouping is now saved and can be used for seating charts, attendance, notes, and reports.
You can regenerate or change groupings at any time—nothing is permanent.
What happens next
After creating a grouping, most teachers do one of the following:
- View the seating chart
- Take attendance
- Start class and make quick notes
If you want more control over how groups are generated—such as keeping certain students together or apart—you can explore advanced grouping options later.