How do I take attendance on desktop?
ClassSeats lets you take attendance directly from your seating chart (or a student list), with quick “Mark Rest” options to finish fast.

Open Attendance
- In ClassSeats Desktop, click the Attendance tab.
- Select the correct class/period (if needed).
-
Check the date:
- Click Today to jump to today quickly.
- Use the arrows or calendar controls to move to a different day.
Choose your view
Use the View dropdown to pick what works for you in the moment:
- Table View (seating chart style)
- List View (student list style)


Move around the chart
If the chart feels zoomed in or sideways, you can quickly adjust:
- Zoom using the + / – controls (the % indicator shows your current zoom)
- Rotate using the rotate control
- Pan by clicking and dragging the background with your mouse
Mark a student
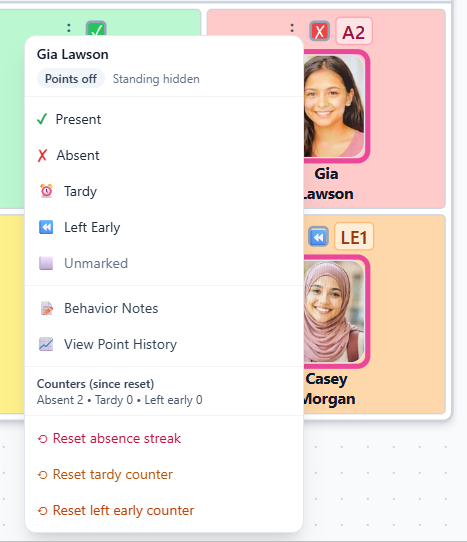
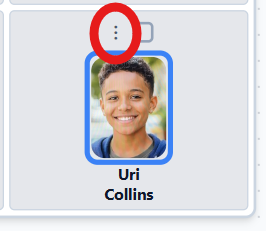
Each student card has a three-dot (⋮) menu for attendance.
- Find the student.
-
Click the ⋮ menu on their card.
Use the three-dot menu to open attendance options. Choose one:- Present
- Absent
- Tardy
- Left Early
- Unmarked
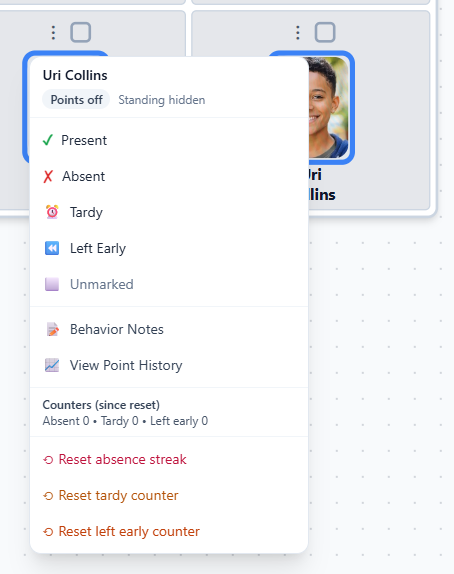
The menu shows all attendance status choices.
When you mark a student, their card background updates so you can see their status at a glance.

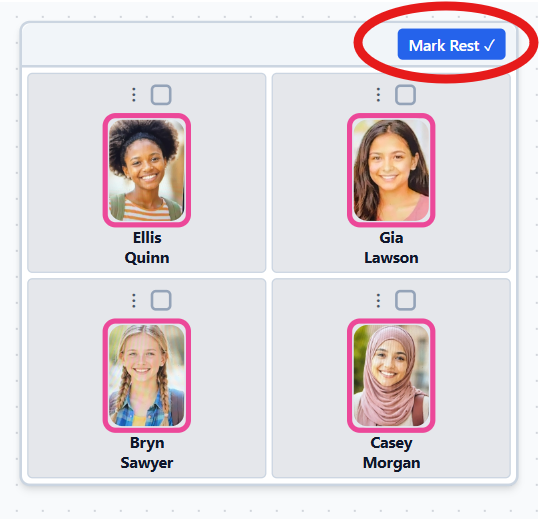
Finish faster with Mark Rest
Once you’ve marked the exceptions (absent/tardy/left early), you can mark everyone else quickly.
Mark the rest of the class
- Click Mark Rest in the top control bar to mark everyone still unmarked as Present.
Mark the rest of a table
In Table View, each table has its own Mark Rest button to mark any unmarked students at that table as Present.
Understand labels and counters
Some attendance statuses show a small label on the student card, such as T1, LE1, or A2. These help you see patterns at a glance.
What the labels mean
- T1 = Tardy 1 time since the last reset
- LE1 = Left Early 1 time since the last reset
- A2 = 2 consecutive absences
How they are tracked
-
Tardy (T#) and Left Early (LE#)
- Count how many times that status has occurred
- The count increases each time the student is marked that way
- The count does not reset automatically
-
Absent (A#)
- Tracks consecutive absences
- The count increases only when absences happen back-to-back
- Marking a student Present breaks the streak
Track your progress for the day
The control bar includes a progress/stat line so you can see where you’re at:
- Progress (how many students are marked)
- Counts for Present, Absent, Tardy, and Left Early

Reset streaks and counters
If you want to reset tracking for a student, use their ⋮ menu.
- Reset absence streak (for consecutive absences)
- Reset tardy counter
- Reset left early counter